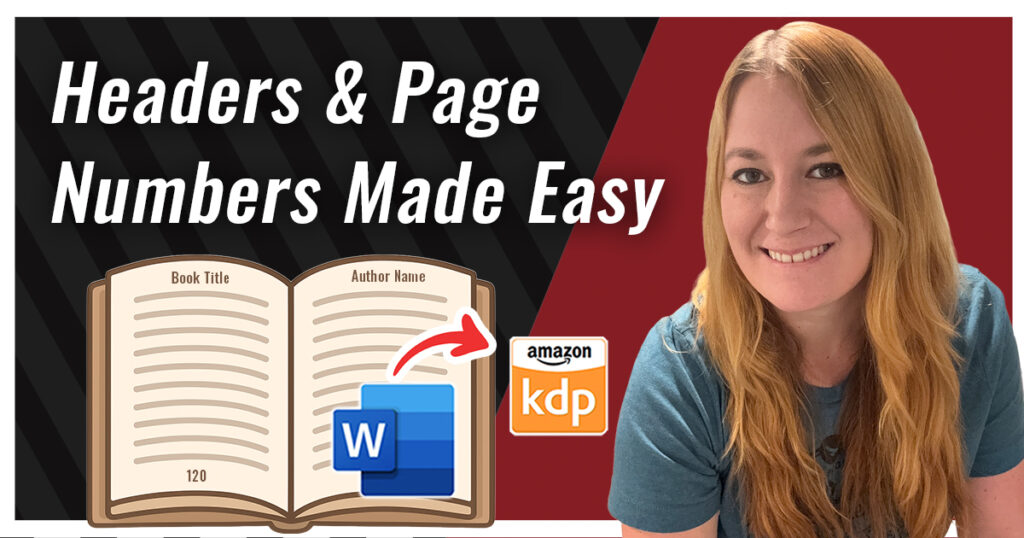
How to Format Headers and Page Numbers in Microsoft Word (Beginner’s Guide for KDP Print Books)
Formatting your print book for Amazon KDP can feel intimidating at first—especially when it comes to those tricky headers and page numbers. But once you understand how it works, it’s actually pretty simple!
In this tutorial, I’ll walk you step-by-step through how to format headers and page numbers in Microsoft Word using Amazon’s KDP paperback template. By the end, your manuscript will look professional, polished, and ready for print.
🎥 Watch the full video tutorial below:

Why Headers and Page Numbers Matter
Headers and page numbers are part of what make your book look “real.”
When you flip through a professionally published novel, you’ll notice:
-
The author’s name at the top of one page
-
The book title at the top of the opposite page
-
Consistent page numbers at the bottom
-
Blank chapter-opening pages (no header or number)
That’s the same setup you’ll create in Microsoft Word—no fancy software required.
")
Step 1: Understand How Headers and Page Numbers Work in Word
When you open Amazon’s KDP paperback template, you’ll notice that the first few pages are blank—no page numbers or headers. That’s intentional! These are your front matter pages, like your title page and copyright page.
Page numbering begins where Chapter One starts. From that point forward, each page alternates between your author name and book title in the headers.
In Word, headers (top of the page) and footers (bottom of the page) are separate sections. You can use these areas to display things like:
-
Your book title or author name at the top (header)
-
Your page numbers at the bottom (footer)
For fiction books, the standard format is:
-
Book title on the left-hand (even) pages
-
Author name on the right-hand (odd) pages
-
No header or page number on the title page, copyright page, or chapter openings
This setup creates a professional, bookstore-quality layout:
-
Even (left-hand) pages will show your book title
-
Odd (right-hand) pages will show your author name
-
Chapter-opening pages and front matter will remain blank
Step 2: Access the Header and Footer Tools
-
Scroll to the first chapter page in your template.
-
Double-click (or triple-click, if needed) at the top of the page where it says Book Title. This opens the Header and Footer Tools tab in Word.
-
From the top menu, make sure you’re on the Header & Footer tab.
")
Step 3: Turn On “Different Odd & Even Pages”
While in the Header & Footer tools:
-
Check the box for Different Odd & Even Pages.
This allows your author name and book title to alternate between pages. -
Also make sure Different First Page is checked.
This hides headers on chapter-opening pages (like Chapter One).
Now you’ll see one page labeled “Author Name” and the next labeled “Book Title.”
Type your author name (or pen name) in ALL CAPS on the right-hand page, and your book title on the left-hand page—also in ALL CAPS for a clean, professional look.
Step 4: Clean Up Extra Spacing in the Header
Sometimes when you type in your headers, Word adds an extra paragraph space above or below the text.
To fix that:
-
Click the ¶ icon (paragraph toggle) in your Home tab.
-
Delete any extra line breaks you see inside the header area.
This keeps your headers evenly aligned across every page.
")
Step 5: Adjust the Front Matter and Page Number Start
Your front matter (title page, copyright, etc.) should not have page numbers or headers.
To keep it separate from your main text:
-
Place your cursor at the end of the front matter.
-
Go to Layout → Breaks → Section Breaks → Next Page.
This creates a new section where your page numbering can begin fresh.
Now, scroll to Chapter One and do this:
-
Click inside the footer area.
-
Go to Insert → Page Number → Bottom of Page → Plain Number (Center).
-
Then select Page Number → Format Page Numbers → Start at: 1.
Your numbering will now begin at Chapter One, not the title page.
")
Step 6: Remove Page Numbers and Headers Where You Don’t Want Them
Certain pages—like title, copyright, dedication, and intentionally blank pages—shouldn’t have headers or numbers.
Here’s how to remove them without messing up the rest of your document:
-
Double-click the header or footer of that page.
-
In the Header & Footer Tools, uncheck Link to Previous.
-
Delete the header or page number from just that page.
This change affects only that section, keeping all other pages intact.
")
Step 7: Handling Blank Pages Between Chapters
Sometimes, you’ll add a blank page to make sure each chapter begins on a right-hand page when printed.
If your blank page accidentally shows a page number:
-
Double-click inside its footer.
-
Uncheck Link to Previous.
-
Delete the number.
Make sure the numbering continues correctly on the next chapter page. For example, if your blank page was numbered 10, deleting it shouldn’t reset Chapter Two from 11 onward. Always double-check that numbering flows continuously.
")
Step 8: Using Section Breaks to Fix Header Issues
Here’s a common issue:
You delete the header text from a chapter-opening page—but it disappears from multiple pages afterward.
That’s because those pages are part of the same section in Word.
To fix it:
-
Click right before your new chapter heading.
-
Go to Layout → Breaks → Continuous Section Break.
-
Now uncheck Link to Previous in the header for that chapter page.
You can safely delete the book title from the header of the chapter’s first page—without removing it from every other page.
Step 9: Double-Check Your Page Numbering
After making edits or adding breaks, always scroll through your document to ensure:
-
Page numbers continue in order
-
Chapter-opening pages are blank
-
Headers alternate correctly between book title and author name
If a number disappears (for example, after inserting a new section), you can manually reinsert it by double-clicking the footer and typing it in or reapplying the page number formatting.
Step 10: Apply the Same Rules to Bonus Chapters or Back Matter
If you’ve added bonus chapters or a preview of another book in the back of your paperback, you can give that section its own headers.
For example, you might add a new section break, uncheck Link to Previous, and type in the title of your bonus story and your author name.
To match the rest of the book:
-
Use the same font (for example, Garamond, size 9)
-
Keep everything in uppercase for a clean, uniform look
-
Maintain the alternating left/right layout
If you prefer, you can remove headers and page numbers from the “About the Author” and promo pages at the very end. Simply uncheck Link to Previous and delete the header or number.
Step 11: Final Review Before Exporting
Before saving your final file for KDP, scroll through your entire document and check for consistency:
 All front matter pages are blank (no headers or numbers) Chapter-opening pages start clean Book title and author name alternate correctly on left/right pages Page numbers increase correctly and begin at Chapter One Fonts and header spacing match throughout
If everything looks clean and consistent, your book is ready to export as a print-ready PDF!
Step 12: Export for Print
Once you’ve reviewed everything:
-
Go to File → Save As.
-
Choose PDF as your file type.
-
Select “Best for printing.”
You can now upload your PDF directly to Amazon KDP under your paperback setup.
Bonus Tip: Test It Before Publishing
Always preview your book in KDP’s Print Previewer before publishing.
This tool simulates how your book will look when printed—so you can catch any misplaced headers, uneven spacing, or missing page numbers before hitting “Publish.”
Final Thoughts
Formatting headers and page numbers in Microsoft Word might sound complicated, but once you understand section breaks, mirrored headers, and unchecking the “Link to Previous” setting—it’s totally manageable!
Take your time, follow these steps carefully, and your manuscript will look just as polished as any traditionally published paperback.
 Want to make formatting even easier?
Check out my other tutorials on Aspiring Writer Academy and don’t forget to subscribe to the YouTube channel for more tips on writing, publishing, and book marketing.
And if you haven’t yet, grab your free “Brainstorming Your Story Idea” worksheet below—it’s packed with fill-in-the-blank templates and examples to help you start your next novel strong.
👉 Want to learn how to format your book for print from start to finish? Check out the full blog post!

Other Posts You May Like:


Do you find it difficult to create compelling antagonists and villains for your stories? Do your villains feel cartoonish and unbelievable? Do they lack motivation or a specific game plan? Discover the secrets to crafting villains that will stick with your readers long after they finish your story, with our How to Create Antagonists & Villains Workbook.
This 32-page instructional workbook is packed with valuable fill-in-the-blank templates and practical advice to help you create memorable and effective antagonists and villains. Whether you're a seasoned writer or just starting out, this workbook will take your writing to the next level.

We Believe All Authors Can Aspire to Take Their Writing to the Next Level!
Our Goal for Aspiring Writer Academy is to help people learn how to write quality fiction, teach them to publish and promote their work, and to give them the necessary tools to pursue a writing career.

ENTER YOUR EMAIL BELOW
TO GET YOUR FREE
"Brainstorming Your Story Idea Worksheet"
7 easy fill-in-the-blank pages,
+ 2 bonus pages filled with additional story examples.
A valuable tool to develop story plots again and again.


")

")
")


Samantha Panzera is an adventurous travel blogger, graphic designer, and multi-media business entrepreneur who uses the experience she’s gained over the years to teach aspiring writers the skills they need to build an author platform and take their careers to the next level.