
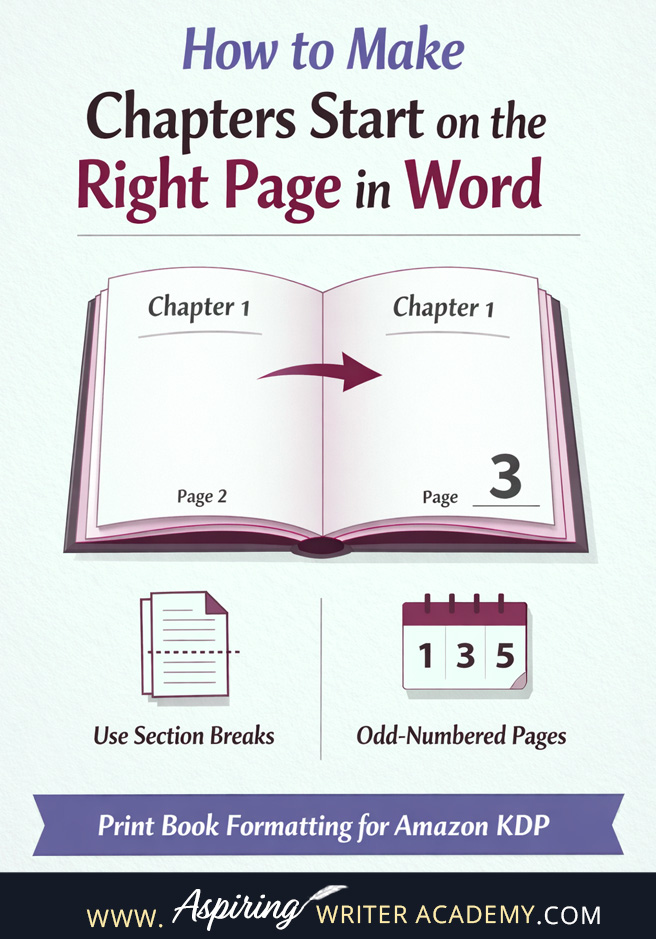
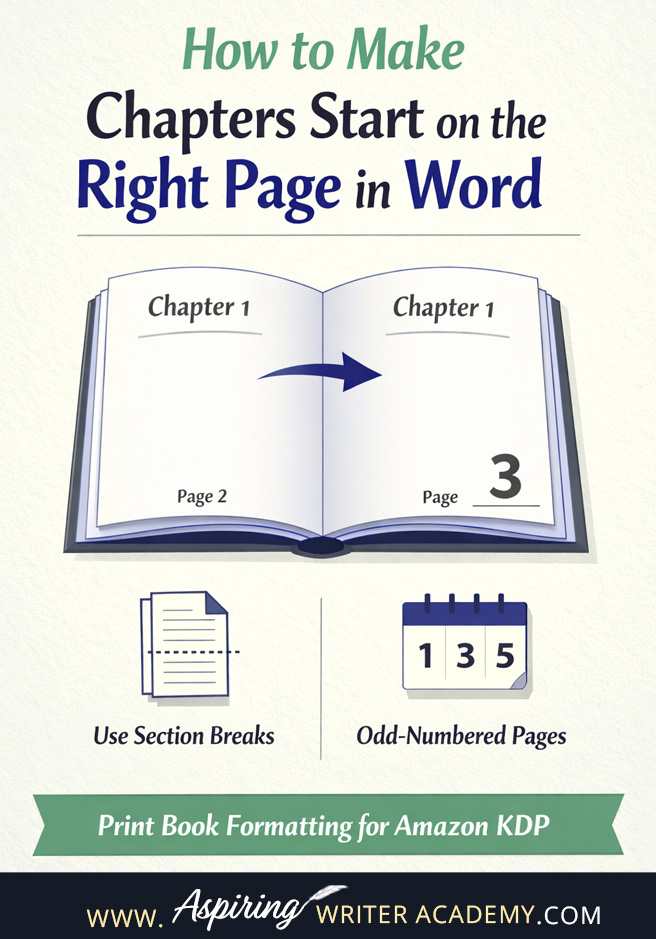
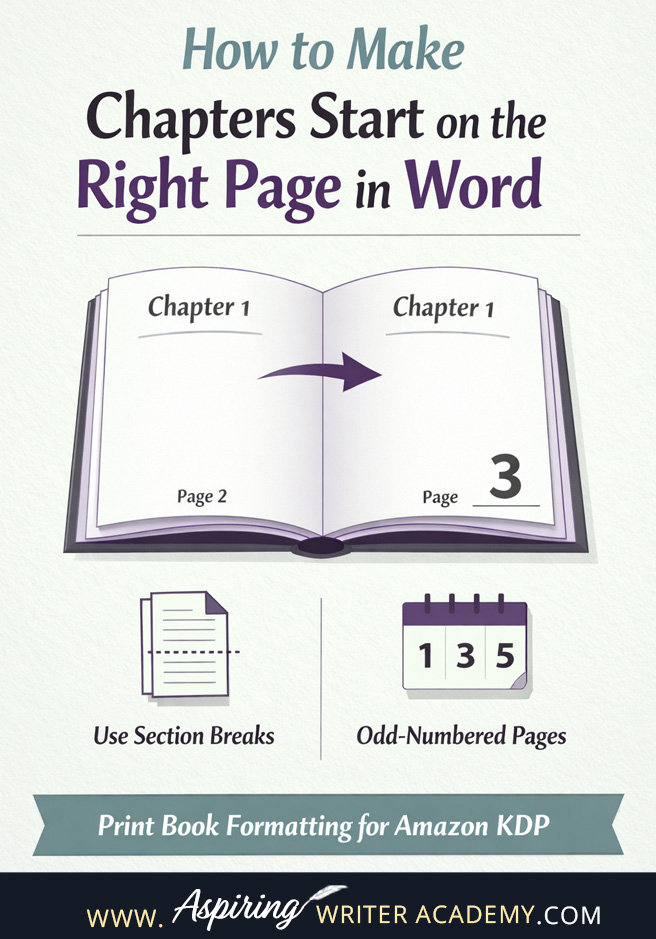
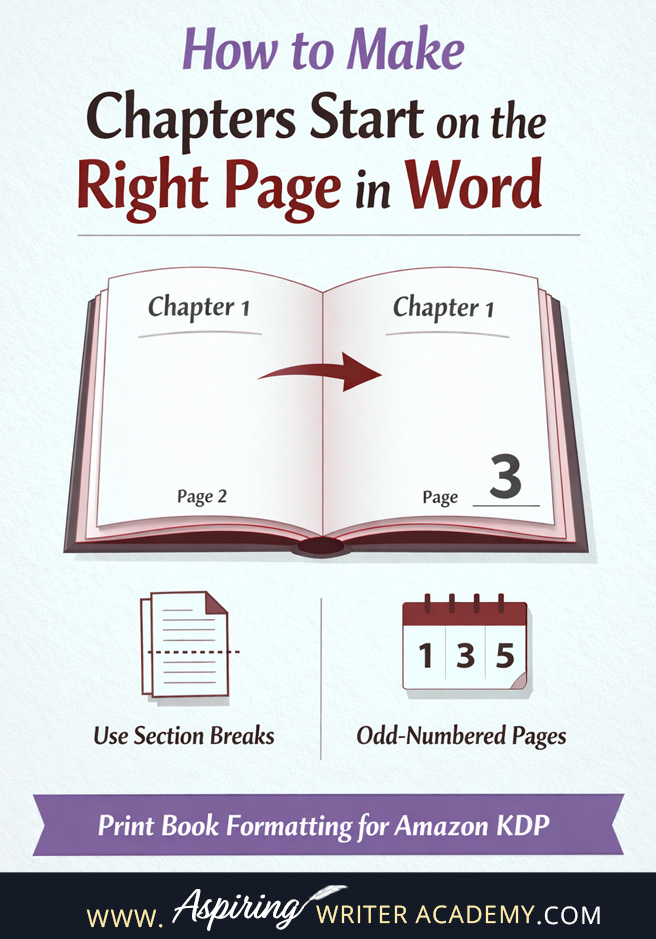
How to Make Each Chapter Start on a Right-Hand Page in Microsoft Word | Print Book Formatting


One of the quickest ways a self-published book can look unprofessional is inconsistent chapter starts. If some chapters begin on the right-hand page and others start on the left, it immediately signals that the book wasn’t properly formatted for print.
The good news? This is an easy fix in Microsoft Word once you understand how print books work and how to use section breaks correctly.
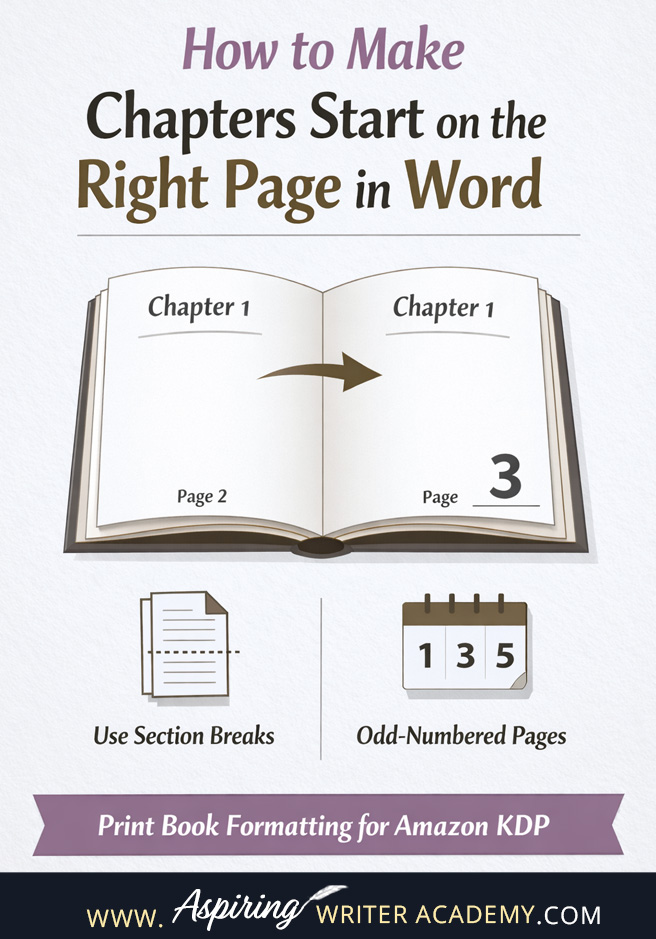
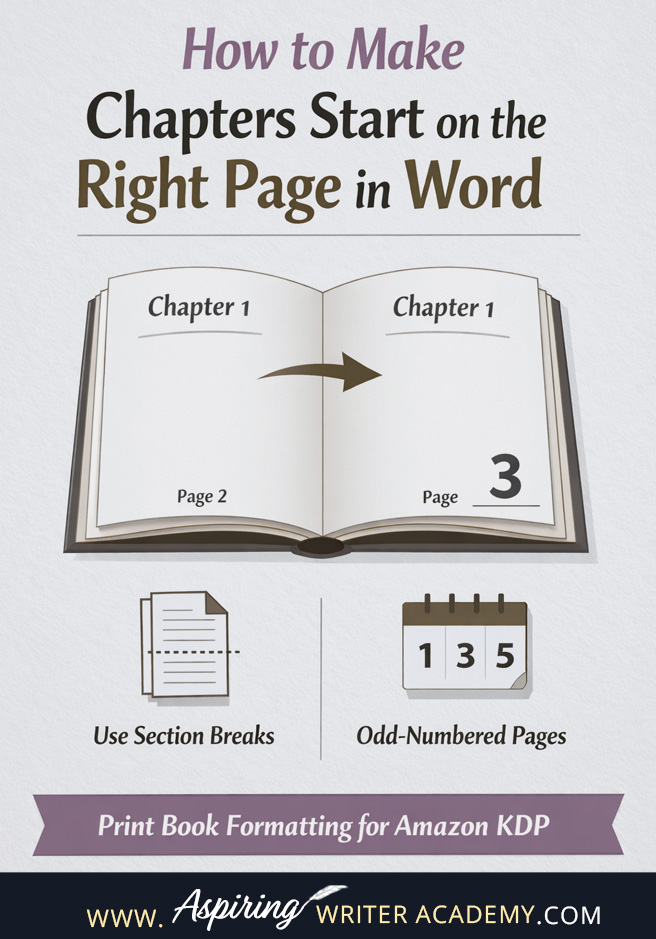
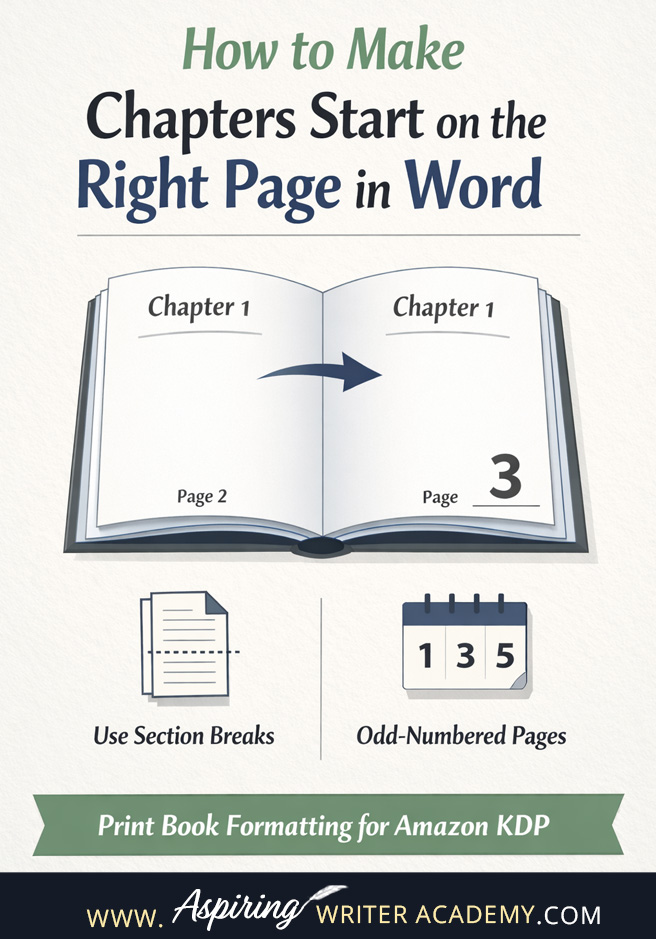
In this tutorial, I’ll walk you step by step through how to make every chapter start on a right-hand page (also called an odd-numbered page), which is exactly what Amazon KDP expects for professionally formatted print books.


Why Chapters Should Start on the Right-Hand Page
In traditional print books:
-
Right-hand pages (recto) are always the first page of a chapter.
-
Left-hand pages (verso) are the back sides.
-
New chapters traditionally begin on the right-hand side.
This layout keeps the reading experience consistent and visually appealing. Imagine flipping to the middle of a chapter and seeing it start on a left-hand page—it just doesn’t look right.

When formatting your manuscript in Microsoft Word, remember that Word doesn’t automatically account for the first title page in your front matter. This can throw off the page numbering and disrupt the layout of your print book.
-
Right-hand pages are always odd-numbered.
-
Left-hand pages are even-numbered.
If chapters start randomly on left or right pages, it usually means Word is flowing text continuously instead of using section breaks to force each chapter to begin on a right-hand page. This is one of the most common formatting mistakes I see in self-published books.
Before You Start: Switch to Two-Page View in Word
To format chapters correctly, you need to see your manuscript in a two page spread layout.
How to enable two-page view:
-
Open your manuscript in Microsoft Word
-
Scroll down to the zoom slider in the bottom-right corner
-
Zoom out until you see two pages side by side
This makes it much easier to see what you are working with.
Understanding How Word Thinks About Pages
When you’re working in Microsoft Word, the way pages look on your screen isn’t always how they will print
For example, a chapter might look like it’s starting on the left-hand page (an odd-numbered page in Word), but because of the first title page in your front matter, when Amazon prints the book it will actually appear on the right-hand page.
Here’s the simple rule for print books:
-
Chapters must always start on right-hand pages (odd-numbered pages).
-
In Word’s two-page view, a chapter may look like it’s on the left-hand page on your screen. This is normal—because of the title page and front matter, the chapter is still on an odd-numbered page and will print on the right-hand side when uploaded to Amazon KDP.
If your chapters aren’t starting on the right-hand page, you can fix this by using section breaks, which force each chapter to begin on an odd-numbered page so it prints on the correct right-hand side.
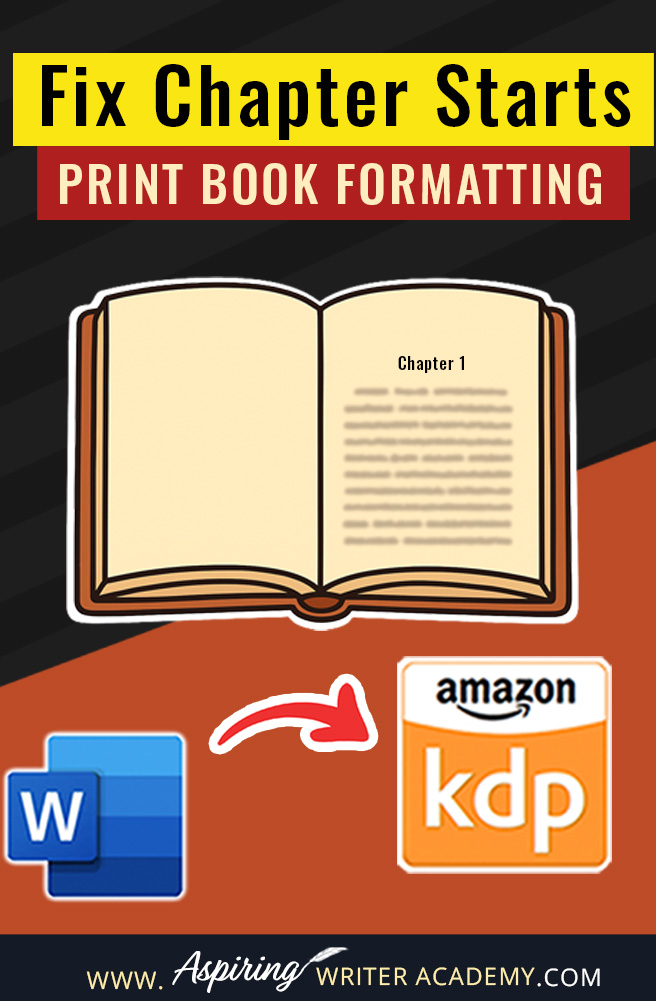
How it looks in Microsoft Word on the left

How it looks in print, appearing on the right-hand side.


Use Section Breaks (Not Page Breaks)
This is extremely important.
To control chapter placement properly, you must use:
Layout → Breaks → Section Breaks → Next Page
Do not use:
-
Page Break
-
Hitting Enter repeatedly
-
Blank paragraphs
Section breaks allow Word to:
-
Insert blank pages when needed
-
Remove page numbers from blank pages
-
Keep formatting clean and predictable

Step-by-Step: Making Each Chapter Start on the Right Page
Step 1: Start at the Beginning of Your Manuscript
Scroll to the very beginning of your book and work chapter by chapter.
You’ll usually see something like this:
-
Title page (right)
-
Copyright page (left)
-
Acknowledgments or dedication (right)
This is normal.
Step 2: Check Where Chapter One Starts
-
Switch to Two-Page View in Word to see how your book pages line up.
-
Look at Chapter One:
-
If it starts on an odd-numbered page, you’re all set.
-
If it starts on an even-numbered page, you’ll need to insert a blank page so it begins on the right-hand page.
-
How to Fix It
-
Place your cursor at the very beginning of Chapter One.
-
Go to Layout → Breaks → Section Breaks → Next Page.
-
Word will insert a blank page if needed, making sure your chapter starts on the right-hand (odd-numbered) page.
(It may look like it’s on the left in Microsoft Word, but when printed, it will appear on the right.)
This simple step keeps your chapters consistent and maintains a professional print layout.
Step 3: Repeat This Process for Every Chapter
Scroll down to Chapter Two and check its placement.
-
If it already starts on the left and is a odd numberd page → leave it alone
-
If it starts on the right and is a even number → insert a section break
Repeat this for:
-
Chapter Three
-
Chapter Four
-
Every chapter in your book
Yes, this can feel tedious — but it’s the fastest way to guarantee professional results.
Why Blank Pages Are Normal (and Necessary)
Many authors worry when they see blank pages appear.
Here’s the truth:
-
Blank pages are normal in print books
-
They ensure chapters always begin on the right
-
Readers expect this and don’t see it as a mistake
What does look like a mistake is a chapter starting on the left.

Keep Blank Pages Clean
Your blank pages should:
-
Have no text
-
Have no page numbers
-
Exist only to push the next chapter to the right page
If your page numbers are showing on blank pages, that means your section breaks aren’t set up correctly.
Beginner Tip: Use the Amazon KDP Template
If you’re formatting for Amazon KDP, I highly recommend starting with their Word template.
It already includes:
-
Correct margins
-
Proper page size
-
Page numbering rules
-
Print-ready settings
This makes chapter formatting much smoother and reduces errors during upload.
Final Check Before Uploading to KDP
Before exporting or uploading your manuscript to Amazon KDP:
-
Scroll through the entire book in Two-Page View.
-
Confirm that every chapter starts on an odd-numbered page so it will print on the right-hand page.
-
Make sure any blank pages do not contain headers, footers, or page numbers.
Taking a few minutes to do this final check can prevent layout issues and ensure your book looks professional once it’s printed.
Why This Small Detail Matters
Starting every chapter on the right-hand page instantly:
-
Makes your book feel professionally published
-
Improves readability
-
Matches industry standards
-
Helps your book compete visually with traditionally published titles
It’s a small formatting step that makes a big difference in how your book is perceived.
We Believe All Authors Can Aspire to Take Their Writing to the Next Level!
Our Goal for Aspiring Writer Academy is to help people learn how to write quality fiction, teach them to publish and promote their work, and to give them the necessary tools to pursue a writing career.

Before You Go… Grab This Free Resource!
If you’re in the early stages of writing your novel, don’t forget to download our free Brainstorming Your Story Idea Worksheet. It includes:
-
Fill-in-the-blank prompts
-
Story structure examples
-
Guided questions
-
Idea-boosting templates
Do you find it difficult to create compelling antagonists and villains for your stories? Do your villains feel cartoonish and unbelievable? Do they lack motivation or a specific game plan? Discover the secrets to crafting villains that will stick with your readers long after they finish your story, with our How to Create Antagonists & Villains Workbook.
This 32-page instructional workbook is packed with valuable fill-in-the-blank templates and practical advice to help you create memorable and effective antagonists and villains. Whether you're a seasoned writer or just starting out, this workbook will take your writing to the next level.

Other Posts You May Like:


Samantha Panzera is an adventurous travel blogger, graphic designer, and multi-media business entrepreneur who uses the experience she’s gained over the years to teach aspiring writers the skills they need to build an author platform and take their careers to the next level.