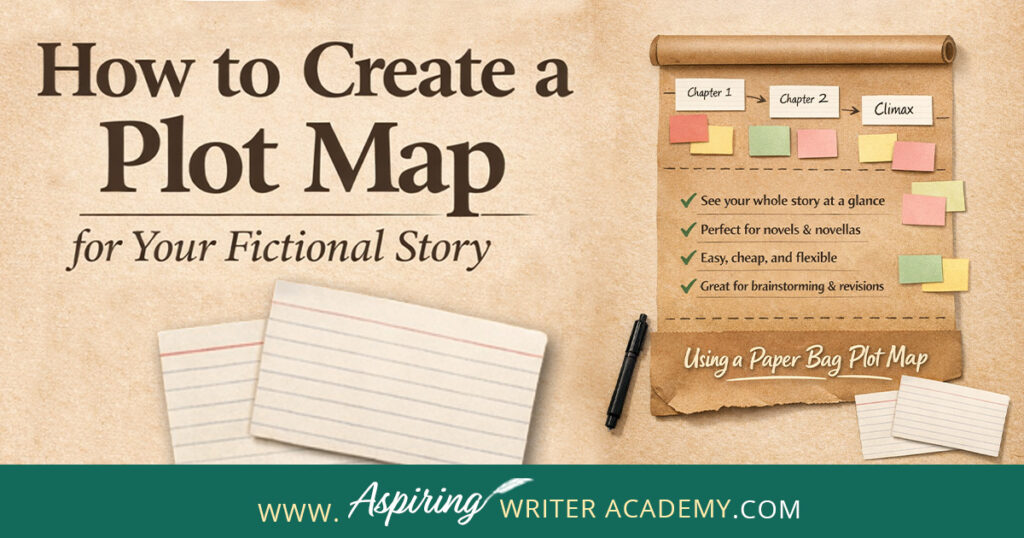
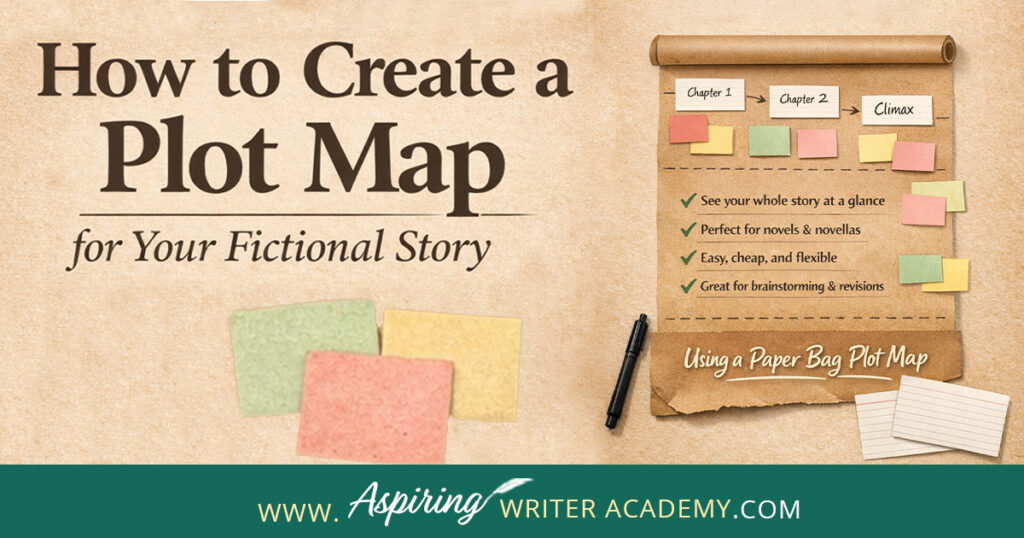
How to Create a Plot Map for Your Fictional Story
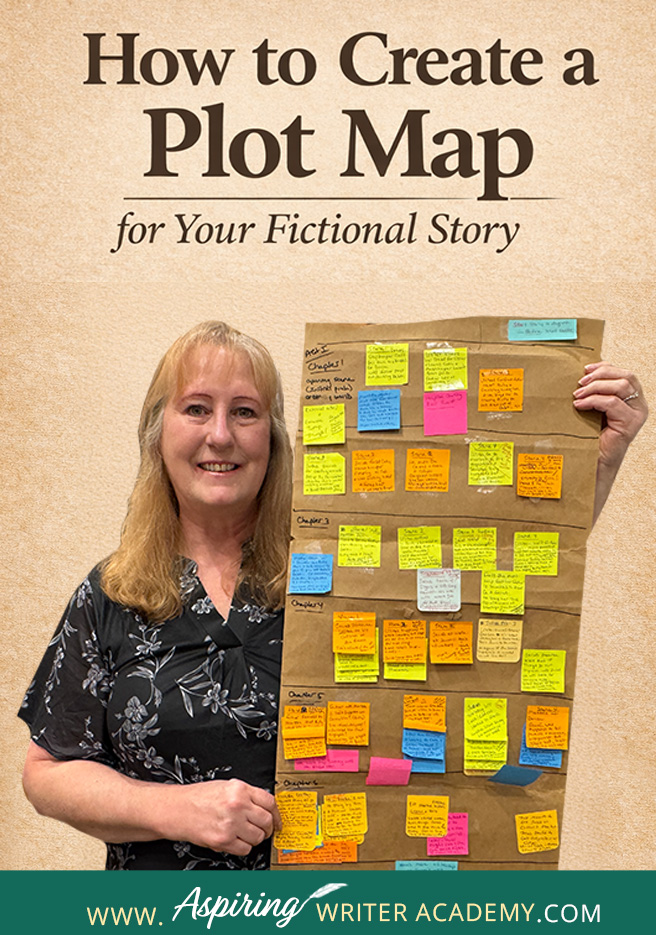
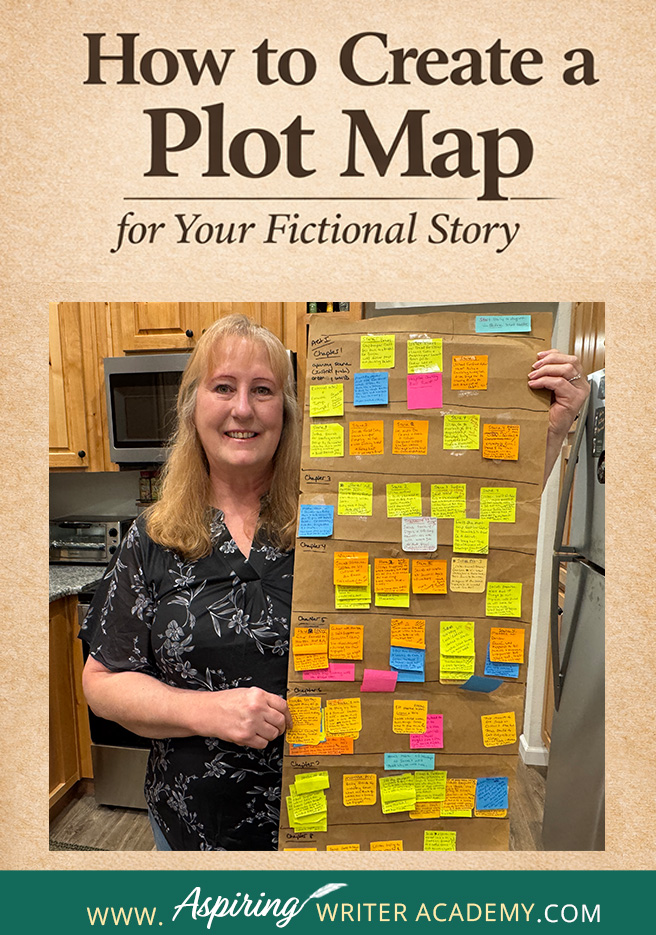
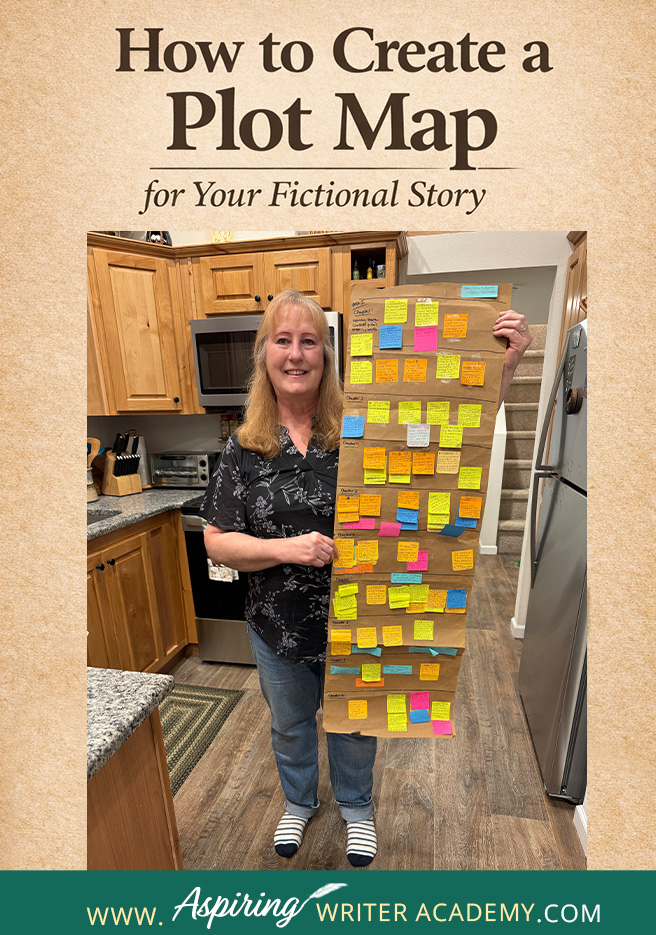
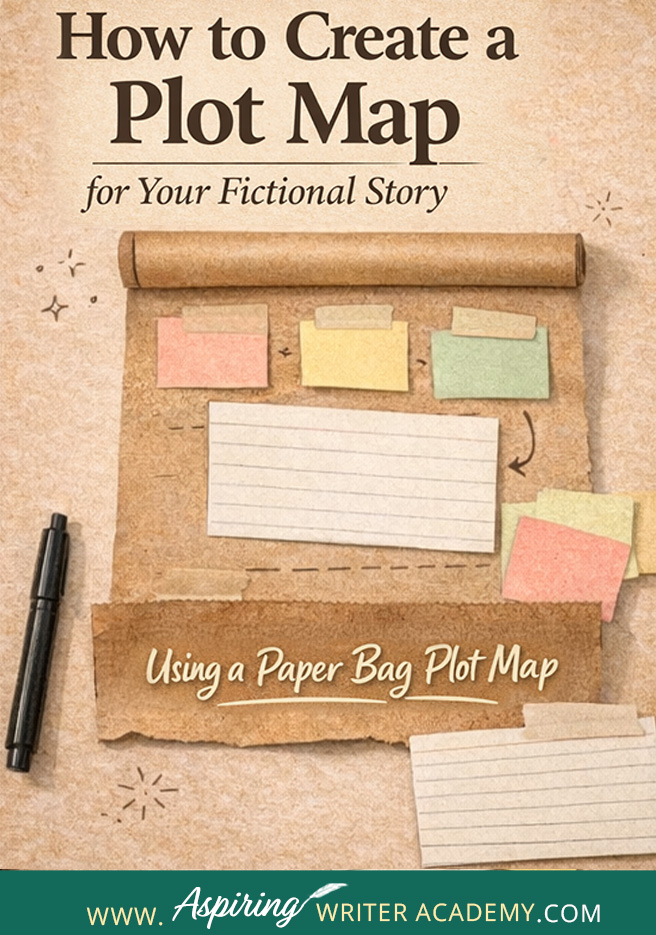


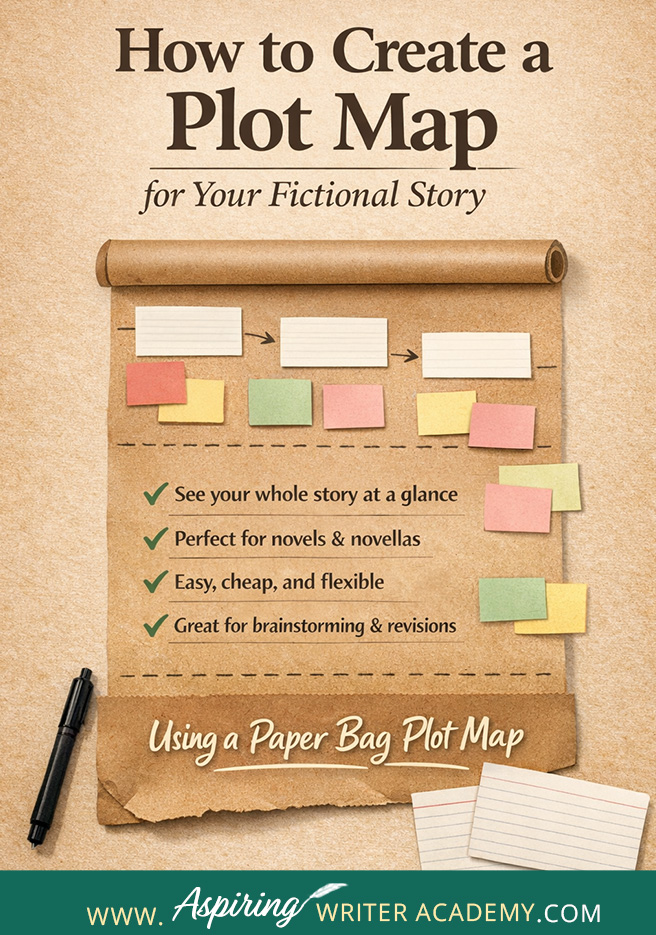

What is a plot map? While many writers brainstorm story ideas using connected bubbles or bullet lists, we’ll show you how to create a more dynamic plot map that offers a full visual outline of your story—using a simple paper bag!
In How to Create a Plot Map for Your Fictional Story, we explore the advantages of a paper bag plot map, walk you through the steps of creating one, and offer tips on how to use the plot map for marketing and promotion.

1) What is a Paper Bag Plot Map & Why You Need One
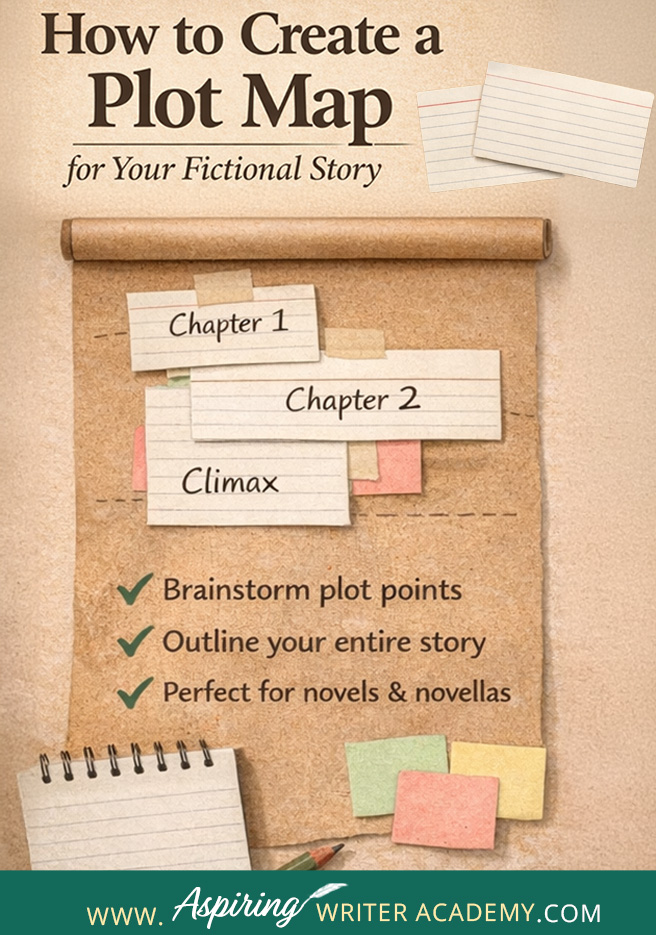
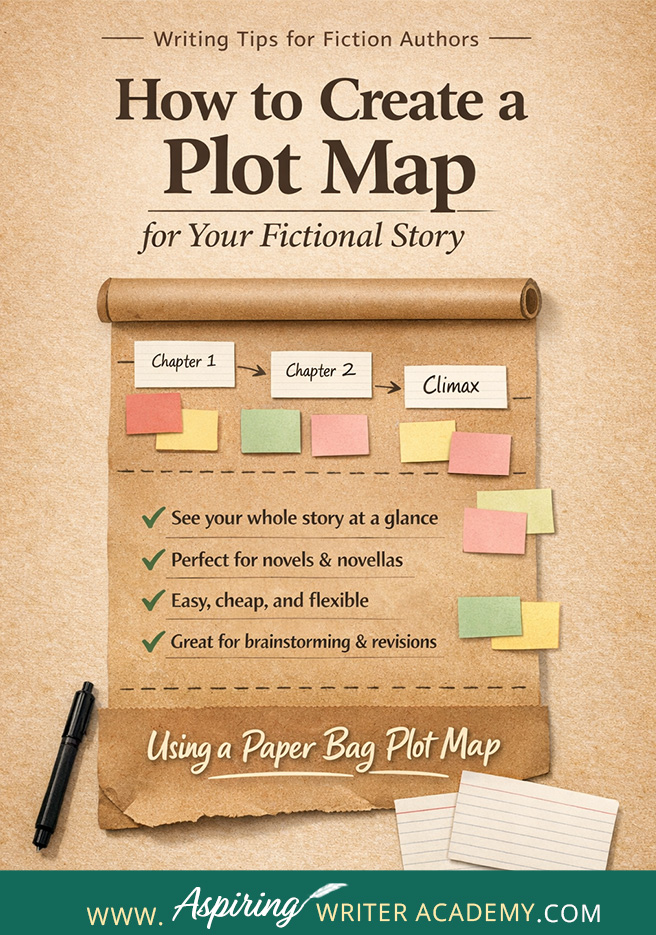
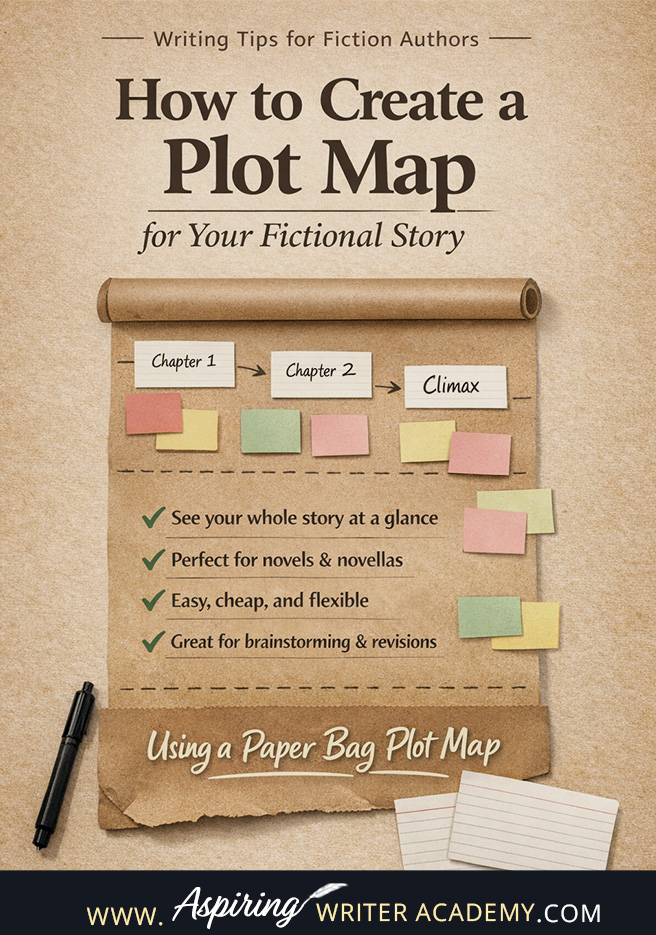
A plot map gives you a visual overview of your entire story, marking key events, turning points, and perhaps even a chapter-by-chapter summary.
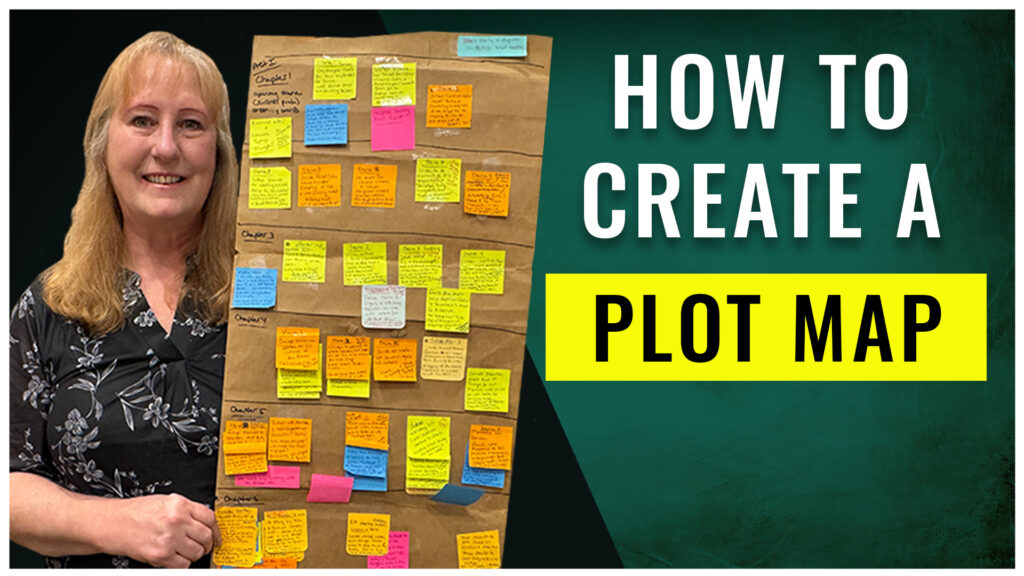
Today we will show you how to create a cheap, easy plot map out of a paper bag, but many authors also use posterboards. The plot map is divided into blocks—one per chapter—where you can paste sticky notes or index cards to summarize what happens within your story. This makes a plot map a perfect tool for brainstorming.


A Plot Map:
- Allows you to visually see the whole story at a glance.
- With sticky notes, you can move around ideas to see how they might line up in the story—great for brainstorming.
- Fantastic tool for keeping track of your story while writing and afterward, it’s a great way to look back at the main points of your story during the revision phase. When published, which may be months or years later, you can look back at the plot map to refresh your memory on key points as you write guest blog posts and create promotional materials and a marketing plan.
- Cheap and easy! Paper bags are cheaper than buying posterboards or a roll of brown packaging paper. Although, if you prefer, those items will work too!
- Creating a plot map from a paper bag is a good way to recycle or repurpose material, and when it is cut and taped together, paper bags can give you the perfect length to make a scroll to really see the story from beginning to end. The exact size is up to you and may depend on the length of your story.
- You can also create a plot map by taping sheets of 8 ½ by 11-inch pieces of paper together. Although a paper bag gives you greater width and length to work with and will have less seams.
2) How to Create a Paper Bag Plot Map
Step 1:
First, gather your supplies. You will need a large paper bag like those they give away for free at the grocery store. Make sure it is clean and not torn. Use scissors to cut the bag lengthwise up one seam. Cut out the small rectangle at the bottom of the bag. Then you should be able to unfold the remaining bag into a long vertical scroll.
Helpful Hint: If you are writing a short story or novella, one bag should be enough. If you are writing a full-length novel, you may have to use 2 bags (cutting each the same way) and then tape the 2 long pieces together to create a longer scroll. If your bags have grocery story writing on one side, be sure to use the interior blank sides for your story.
Step 2:
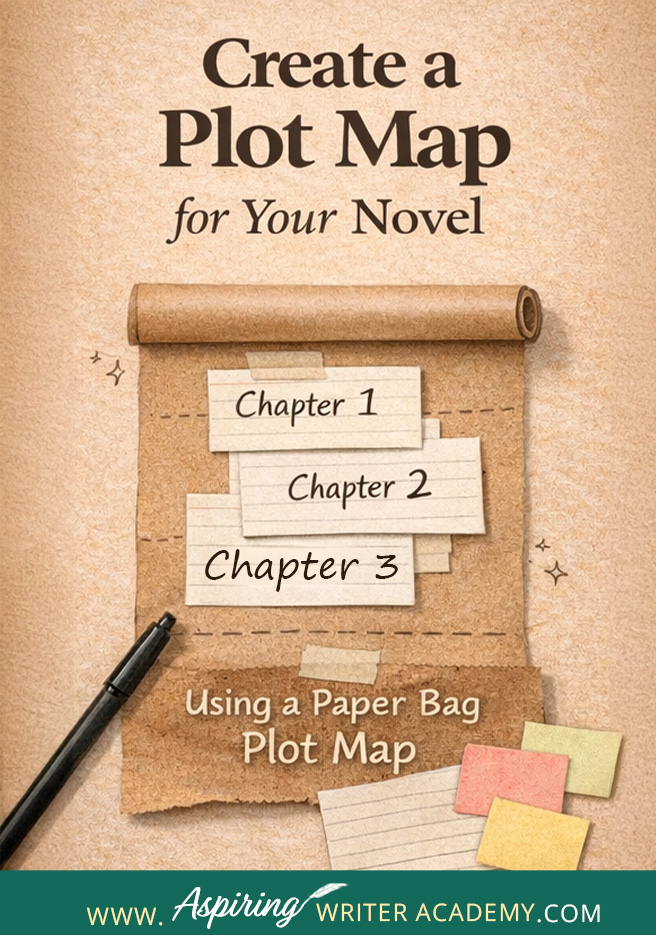
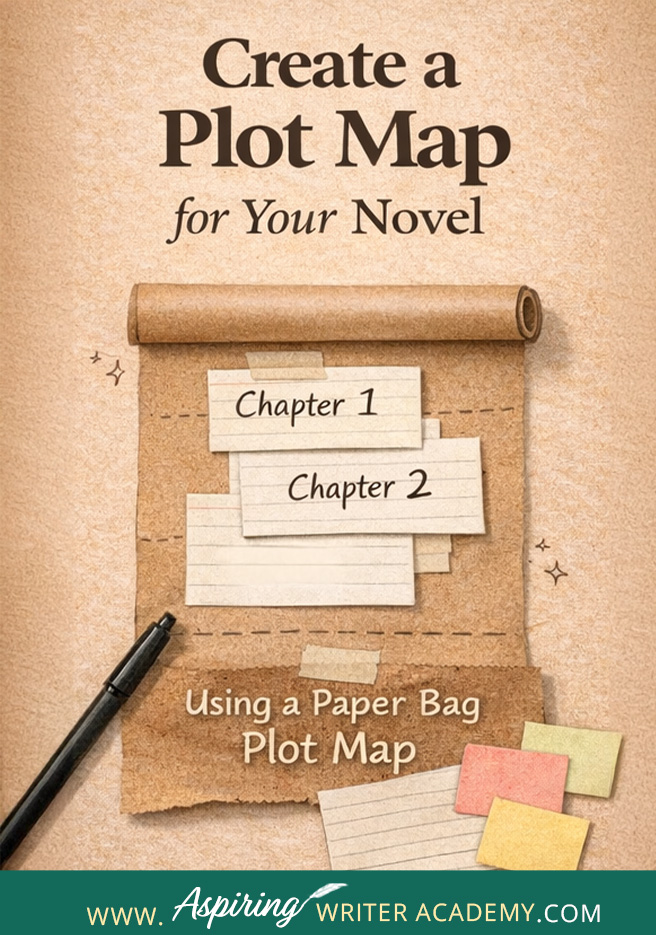
With a pen or sharpie marker, divide the vertical plot map into different sections by drawing horizontal lines across the width of the scroll, about 5 inches apart. (Enough space to place an index card.) Each section will represent one chapter of your story.
For novellas, divide the paper bag scroll into 10 sections (10 chapters, at least to start). For a full-length novel, (using 2 bags taped together) divide the paper bag scroll into about 20 sections to get started. Other chapters (and possible scroll length) may need to be added later, but for now, start with 20.
For those using a poster board, you will want to take a sharpie and divide the entire board into 20 squares. Five squares across and four squares down like a checkerboard. Again, each square will represent one chapter. You can number each one.
When you brainstorm your story, you may find that you do not have enough ideas or story material to fill out all the blank sections and that is okay. Some novels are sixteen chapters, some twenty-four. Just give yourself enough room to get started. The actual number of chapters for your story can be adjusted later. Also, there are some areas of your story that may remain blank for now but will need to be filled out as you write.
Step 3:
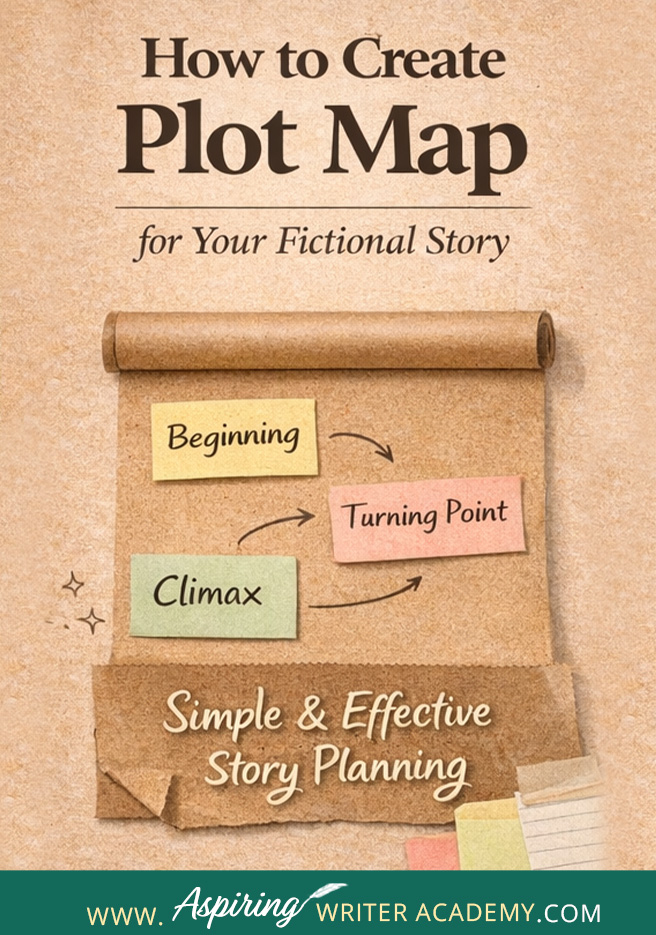
If you are new to writing, you may just want to list all the ideas you have for your story on sticky notes and rearrange them in the order that you think they might occur. Place them vertically on your plot map. How does the story begin? What might happen in the middle of the novel? What do you think may happen at the end? How might the story be resolved?
Note: Nothing is set in stone at this point. You are simply brainstorming. That is why we use sticky notes—so that you can move your ideas around on the board. See what clusters of ideas may be grouped together to form scenes.
More advanced writers or those who prefer going deeper into the 3-Act Structure of plotting a fictional novel, may want to label the different turning points on the plot map.

For instance, you will have your opening set up and introduction to characters in Chapter 1. You may have the Inciting Incident occur in Chapter 3. Divide the number of chapters you are working with in half and label the Temporary Triumph (Chapter 5 for novellas, Chapter 10 for a 20 chapter novel). The very next chapter will have the Midpoint Reversal (Chapter 6 for novellas, Chapter 11 for novels with 20 Chapters.)
Of course, these are estimates for the purpose of brainstorming. Where do you see the Black Moment occurring in your storyline? Followed by the Story Climax and the Story Resolution at the novel’s end? How many scenes or chapters will these events take to unfold?
You can use a marker or a sticky note to label the parts of the story and their approximate location on the plot map. Then write your story ideas on sticky notes and see if you can cluster some ideas together that may form chapters or scenes and stick them on the plot map in the chapters or sections where they might belong.
For a more in-depth look at Solid Story Structure (often called the 3-Act Structure) click here for a step-by-step tutorial on How to Plot Your Fictional Novel with a Free Plot Sketch Template included.
")
Step 4: Now it’s time to take out some index cards. Look at the sticky notes in each section or ‘chapter’ of your working plot map. Write a summary of what might happen in each chapter and tape the index card on the plot map beside the sticky notes. You should have one index card for each section.
Does the story make sense when read in this order? Or do you need to change some of your ideas around? Your plot map is a brainstorming board to help you organize your ideas into a visual image of your story. Don’t worry if you have blank ‘chapters’ or if your chapter descriptions seem vague. The more you brainstorm your story the more details you will have to fill in these empty sections. Some of you may need to start writing your story to get to know your characters better first and discover how the plot will unfold. When you get new ideas, simply add it to your plot map.
Step 5: For some of you, writing down the chapter summaries on your plot map may be enough and you can stop there.
Others may want to take the plot map to a deeper level and tape additional index cards to each chapter outlining what happens in each scene within that chapter. If you are familiar with Scene & Sequel, you may even want to map out the components of each scene.
For more on this topic, check out our detailed blog posts:

")
Short Re-Cap: How to Create a Plot Map from a Paper Bag
Step 1: Cut the bag up one side and cut out the bottom rectangle to form a vertical scroll.
Step 2: With sharpie marker – divide map into chapters – about 10 for Novella, 20 for novel, even if you don’t use them all.
Step 3: Use sticky notes to mark key turning points within the story and organize story ideas. Cluster together those that may become chapters or scenes.
Step 4: Summarize what happens in each chapter on index cards and tape on plot map.
Step 5: Use index cards or sticky notes taped to the plot map listing scene ideas for each chapter or go even further and use Scene & Sequel to outline each scene.
Fun Idea: Gather some writer friends together for a whole day and help each other put together a plot map with the bare bones of each person’s story idea. Afterward, you can keep each other accountable on actual writing progress.
3) Where to Keep Your Paper Bag Plot Map & How to Use it for Marketing and Promotion?
After you have created your plot map, you will discover it is quite large and you may be wondering where to put it.
Many authors like to keep their plot map near their desk while writing, so they can glance at it and keep their storyline on track. You need to put it where you will see it each day.
Where can you keep your plot map?
- Roll up the plot map like a scroll and secure with a rubber band for easy transport.
- Some writers pin the plot map to a wall or the back of an office or closet door.
- Hang the plot map on a bulletin board with push pins.
- If you have a large office, you might want to lay it out on a long table.
How to use the plot map for marketing and promotion:
- Take pictures of your plot map and post them on social media to show your readers the method that you are using to brainstorm your next story. (Far shots are recommended. You don’t want anyone to actually read what is written on all your little sticky notes or it might give away story spoilers.)
I once posted a picture of my cat sprawled out across my plot map.
And yes, cats love to lay on your plot map and may hinder your progress while trying to brainstorm your story!
- You can also put a picture of your plot map on a book board on Pinterest, along with other pictures that represent your characters, setting, and storyline. After the book is published, give your readers a link to see all the ideas that went into creating your story. You can also post the same information to a page on your website or on a blog.
- Place your plot map on a tripod and stand it in a corner at your book signings so readers can see how you mapped out the story. Many find this extremely interesting!
- When creating marketing materials for your published book, look at the plot map for the key ideas that you may want to promote. Does one of the turning points inspire a great one-liner to hook readers into reading your story? Can the plot map help you write a synopsis or condense the story into a story pitch to an agent or editor?
Instead of searching through the many pages of your manuscript, just glance at your plot map to see what key events happened chapter by chapter in your story.
We hope you have enjoyed How to Create a Plot Map for Your Fictional Story and that you have gained some valuable tips to put together a cheap, easy visual outline of your short story or novel that you can hang in your office to keep you on track while you are writing.
If you have any questions or would like to leave a comment below, we would love to hear from you!
If you like more help developing your story, you may wish to download our Free Brainstorming Your Story Idea Worksheet

Do you find it difficult to create compelling antagonists and villains for your stories? Do your villains feel cartoonish and unbelievable? Do they lack motivation or a specific game plan? Discover the secrets to crafting villains that will stick with your readers long after they finish your story, with our How to Create Antagonists & Villains Workbook.
This 32-page instructional workbook is packed with valuable fill-in-the-blank templates and practical advice to help you create memorable and effective antagonists and villains. Whether you're a seasoned writer or just starting out, this workbook will take your writing to the next level.

We Believe All Authors Can Aspire to Take Their Writing to the Next Level!
Our Goal for Aspiring Writer Academy is to help people learn how to write quality fiction, teach them to publish and promote their work, and to give them the necessary tools to pursue a writing career.

ENTER YOUR EMAIL BELOW
TO GET YOUR FREE
"Brainstorming Your Story Idea Worksheet"
7 easy fill-in-the-blank pages,
+ 2 bonus pages filled with additional story examples.
A valuable tool to develop story plots again and again.
Other Blog Posts You May Like
Scene & Sequel: The Secret to Plotting an Epic Novel
Scene & Sequel: The Secret to Plotting an Epic Novel (Part 2)
Writing Fiction: How to Develop Your Story Premise
12 Quick Tips to Write Dazzling Dialogue
10 Questions to Ask When Creating Characters for Your Story
Macro Edits: Looking at Your Story as a Whole
Basic Story Structure: How to Plot in 6 Steps
Writing Fiction: How To Keep Track of Time in Your Story
Behind the Scenes: Interview with the Authors of the “Sew in Love” Collection


")

")


")

is a multi-published author, speaker, and writing coach. She writes sweet contemporary, inspirational, and historical romance and loves teaching aspiring writers how to write quality fiction. Read her inspiring story of how she published her first book and launched a successful writing career.