
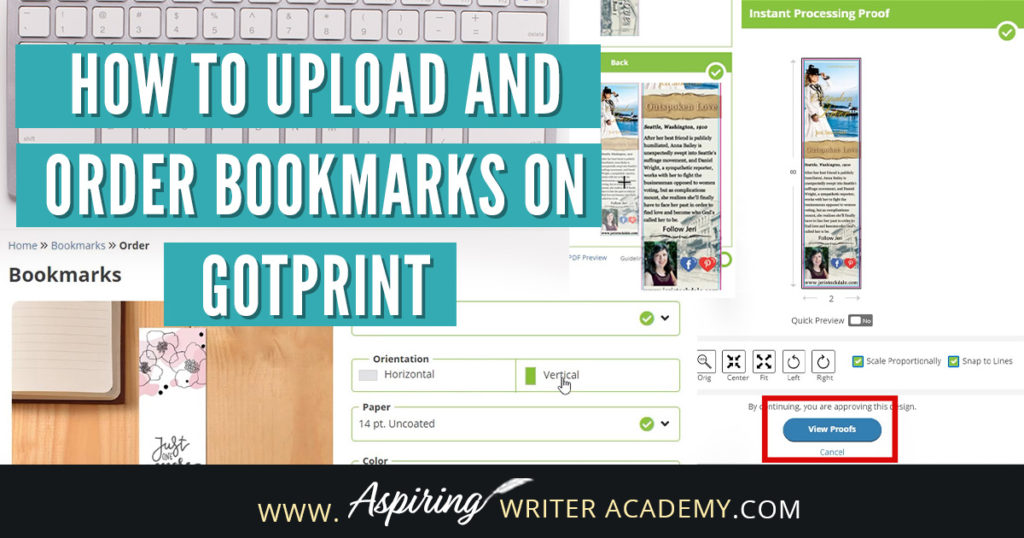
How to Upload and Order Bookmarks on GotPrint


If you or a graphic designer have created bookmarks for your new upcoming book release, you may now be wondering How to Upload and Order Bookmarks on GotPrint. In this step-by-step tutorial, we cover how to upload your graphics, make sure that everything is within the margins, and discuss what are the best settings to choose when creating your bookmark.

Step 1.
To upload your newly created bookmarks, you will first want to go to Gotprint.com. Once you are on GotPrint you will want to either create an account or log into your existing account.


Step 2.
Once you have created or logged into your GotPrint account you will want to scroll over to Marketing Materials. Below this, go ahead and click on Bookmarks.

Step 3.
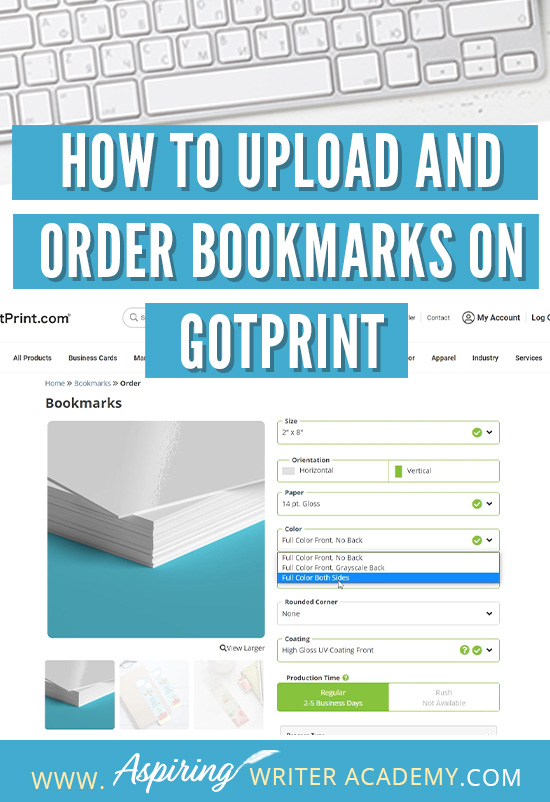
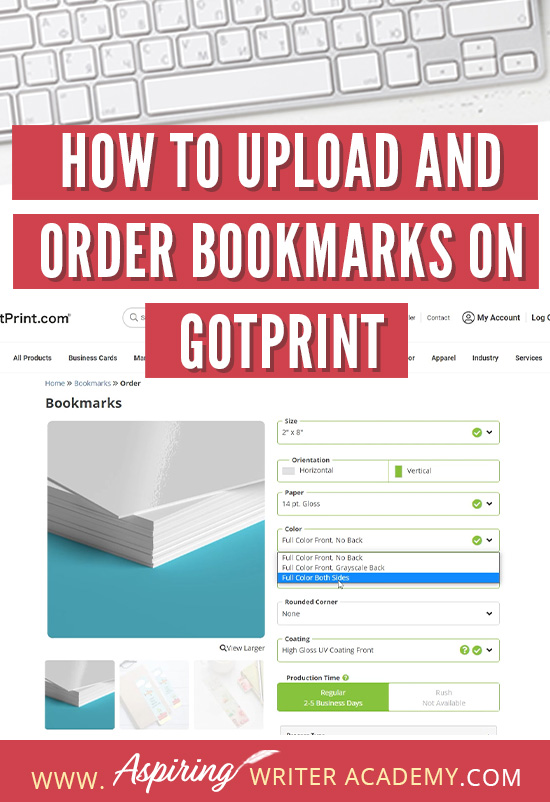
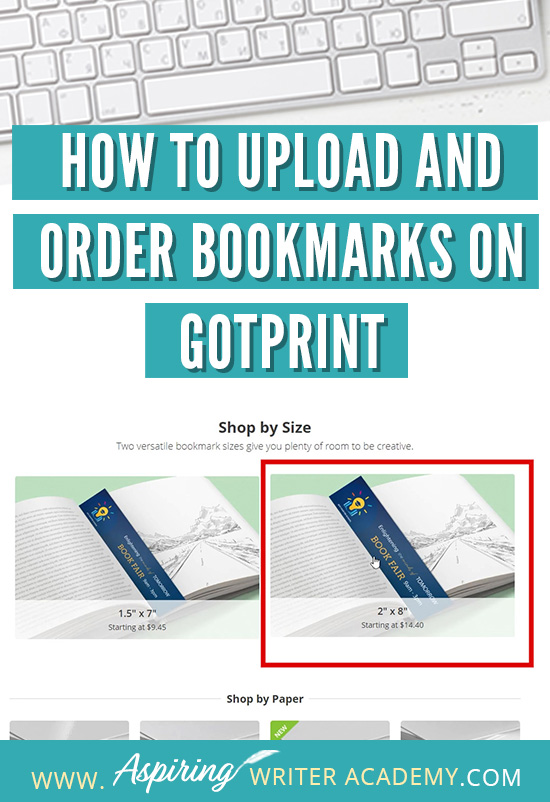
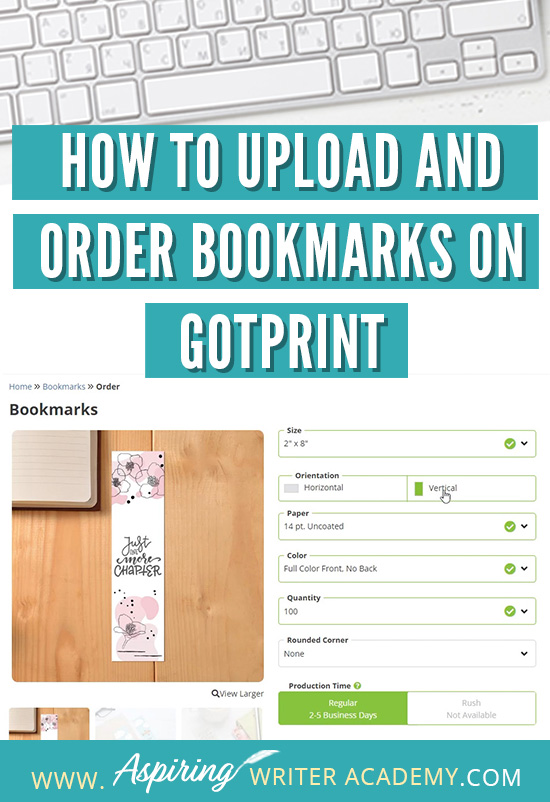
On the Shop by Size page, you can select which size bookmark you would like to order. In this blog post, we chose the 2"x8" bookmark. That is the size bookmark that we formated for GotPrint in our other blog post. I personally like the look and feel of the 2"x8" bookmarks and highly recommend that size for my clients. To continue, click on the size bookmark for which your bookmark was designed.

Step 4.
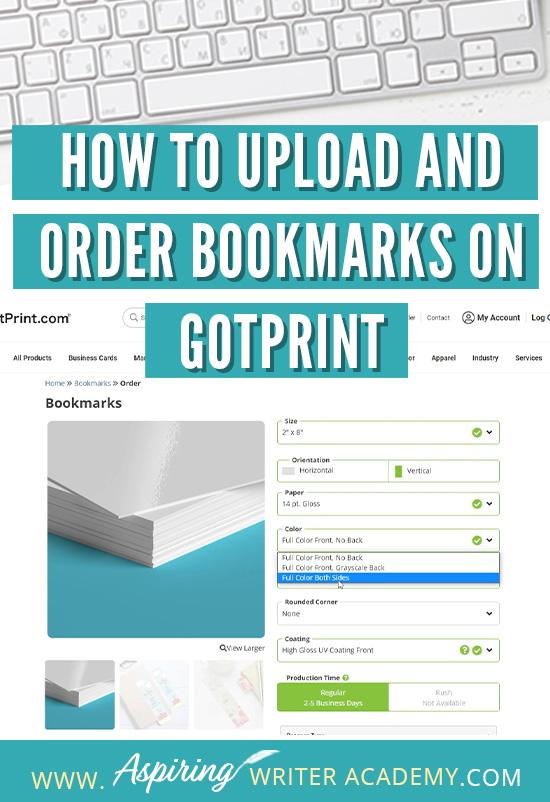
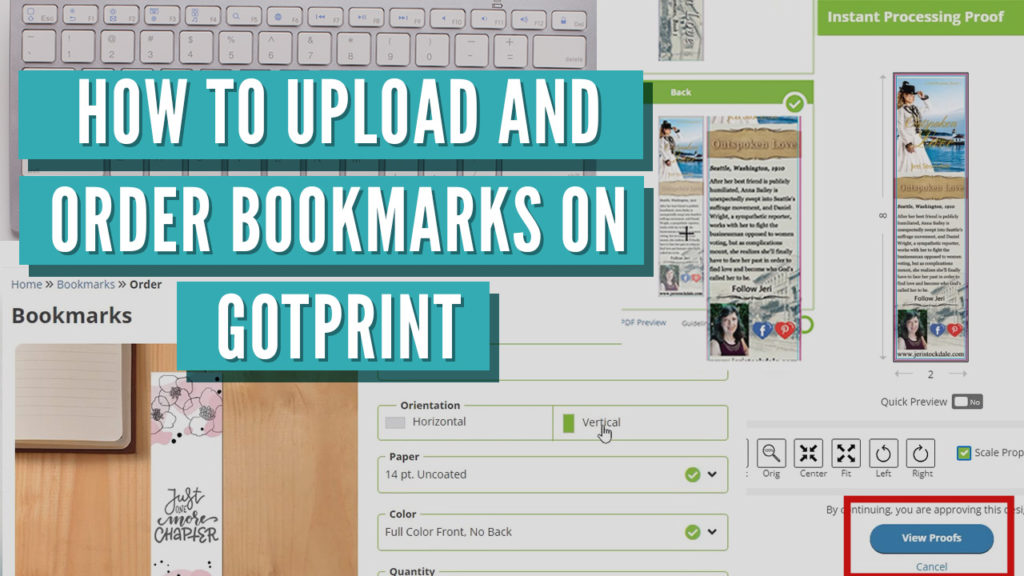
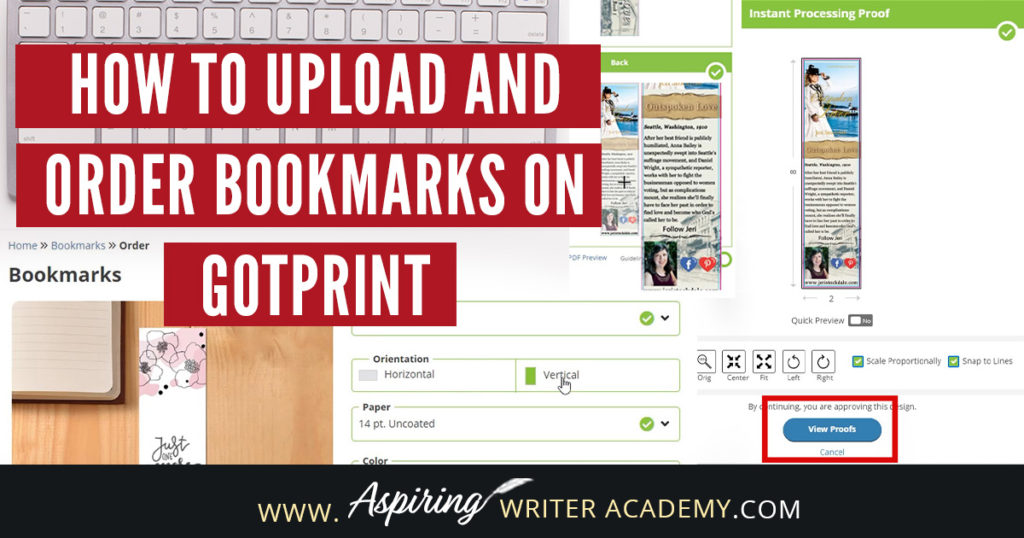
The next step after choosing the size of your bookmark is to select the orientation. You either want your bookmark designed to be horizontal or vertical. For this tutorial, I decided on vertical. I created one side of the bookmark to be horizontal and the other vertical but for GotPrint, it is best to upload both sides of the bookmark in the same rotation. So even though you can turn the bookmark over in your hand to be horizontal on one side, it is best to upload it vertically.

Step 5.
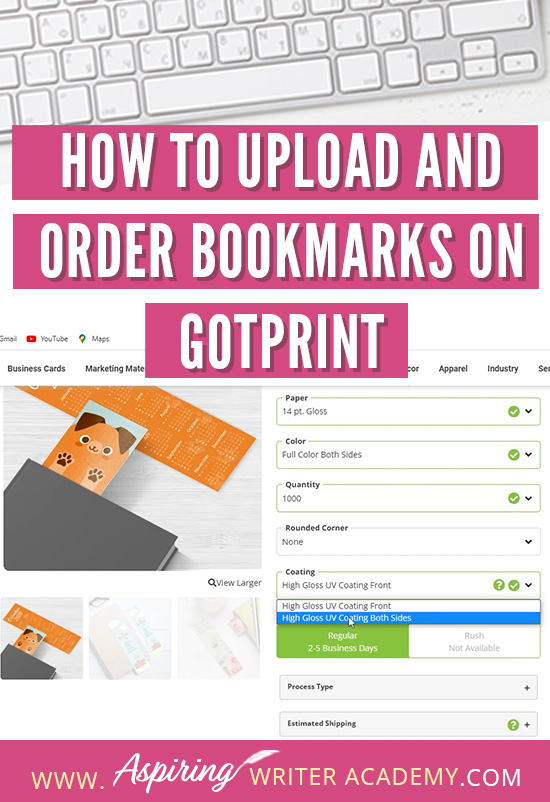
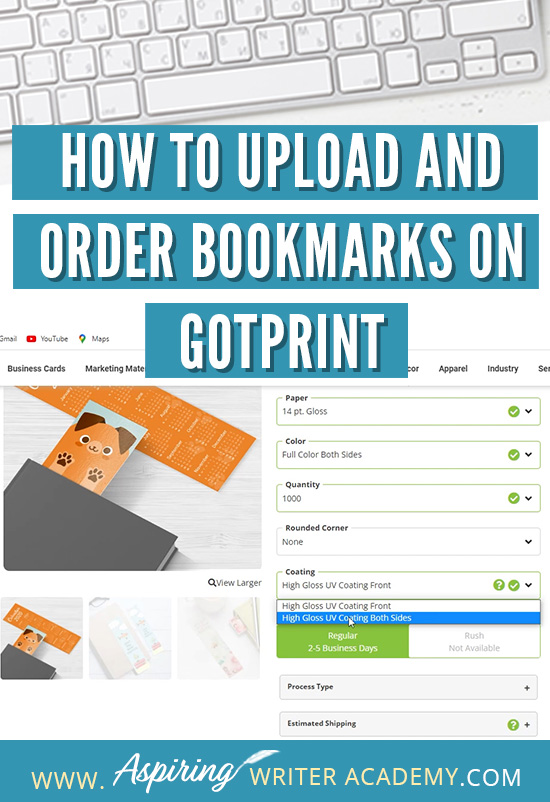
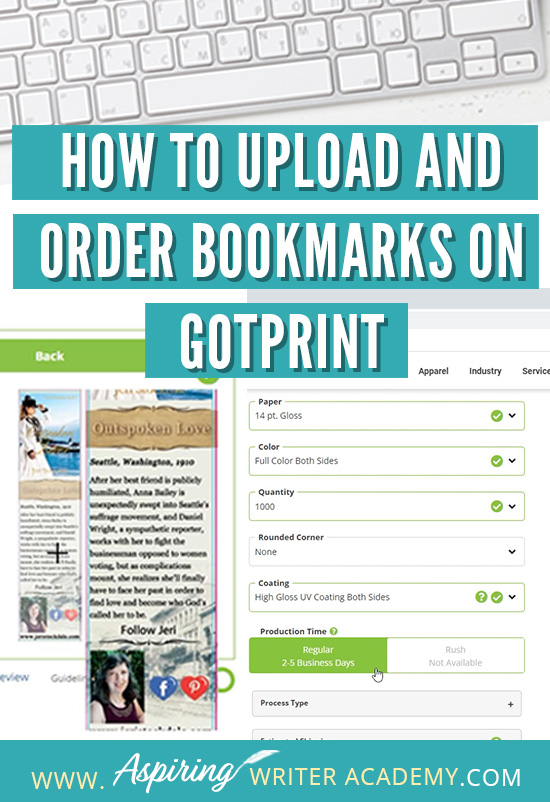
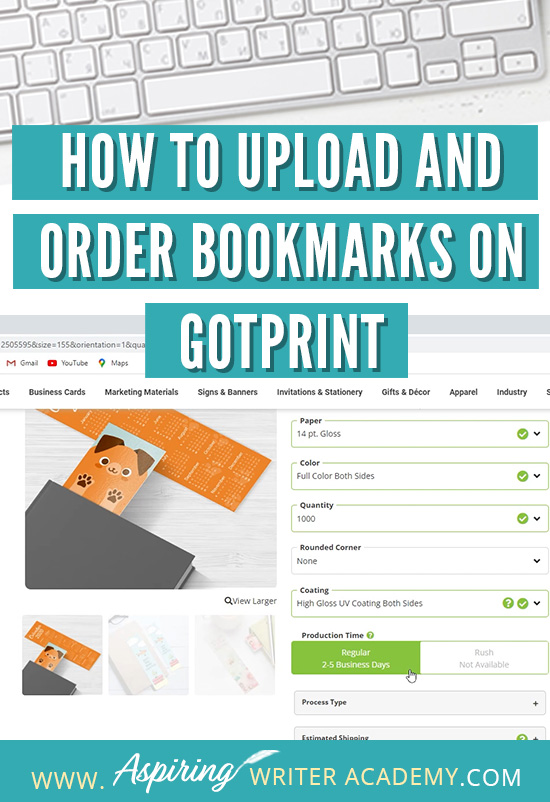
After selecting the orientation for your bookmark you can decide which paper you would like. I personally love the look and feel of the 14. pt. Gloss. I generally use this for the majority of bookmarks I have ordered for authors.

Step 6.
The next step after selecting which paper you would like for your bookmark is to choose whether you want:
Full Color Front, No Back
Full Color Front, Grayscale Back
Full Color Both Sides.
Generally, I think it's best to get Full Color Both Sides but the choice is entirely up to you.

Step 7.
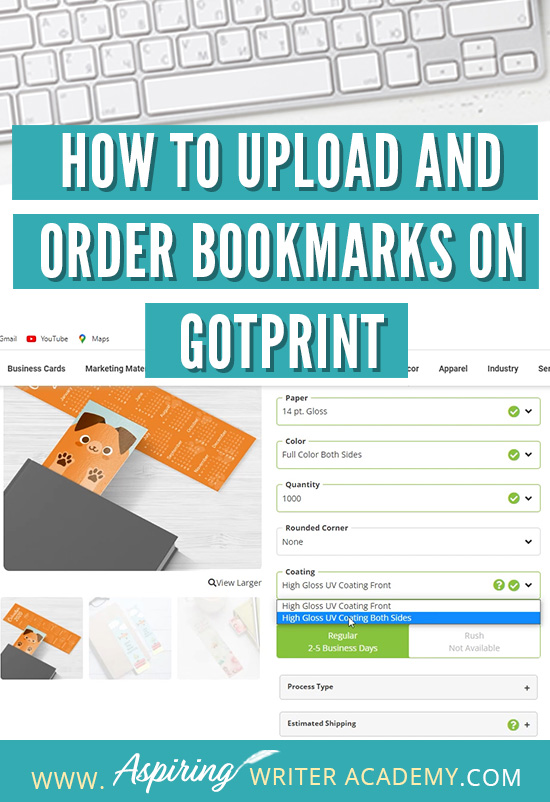
After deciding on whether you want no back, grayscale, or Full Color Both Sides for the back of your bookmark you get to pick your quantity. There is generally only a few dollar difference between 500 bookmarks and 1000 bookmarks. I generally pick 1000 bookmarks for starting out and order more when needed but you are welcome to order however many you think you will need.

Step 8.
The next step is to choose whether you only want gloss on one side or both sides of the bookmark. I generally choose High Gloss UV Coating Both Sides.

Step 9.
For Process Type, I leave it on Instantly Processed. The selection of Instantly Processed is automatically selected and is by far the easiest option. Next under Estimated Shipping enter your Country and Zip Code to get an estimate on your shipping cost.

Step 10.
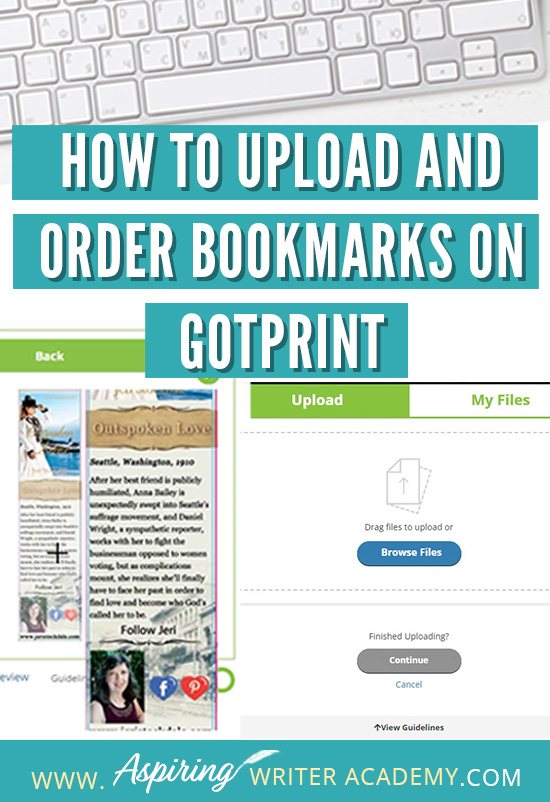
Now it's time to upload your graphics. Select the blue Upload Front button.

Step 11.
After clicking on the blue Upload Front button you will be brought to this page. You will either want to click the big blue Browse Files button or just drag and drop the image you have formatted for the front of your bookmark.

Step 12.
After uploading the front of your bookmark you will be brought to this Instant Processing Proof Page. If the upload glitches and has your bookmark horizontal when you selected vertical you just click on the rotate button. After seeing that everything looks good and that all the text is within the blue safety lines and that nothing important is beyond the pink trim line, you can go ahead and click on the continue button.


Step 13.
Now it's time to repeat the upload process to upload the back of the bookmark. Click on the big blue Upload Back button.

Step 14.
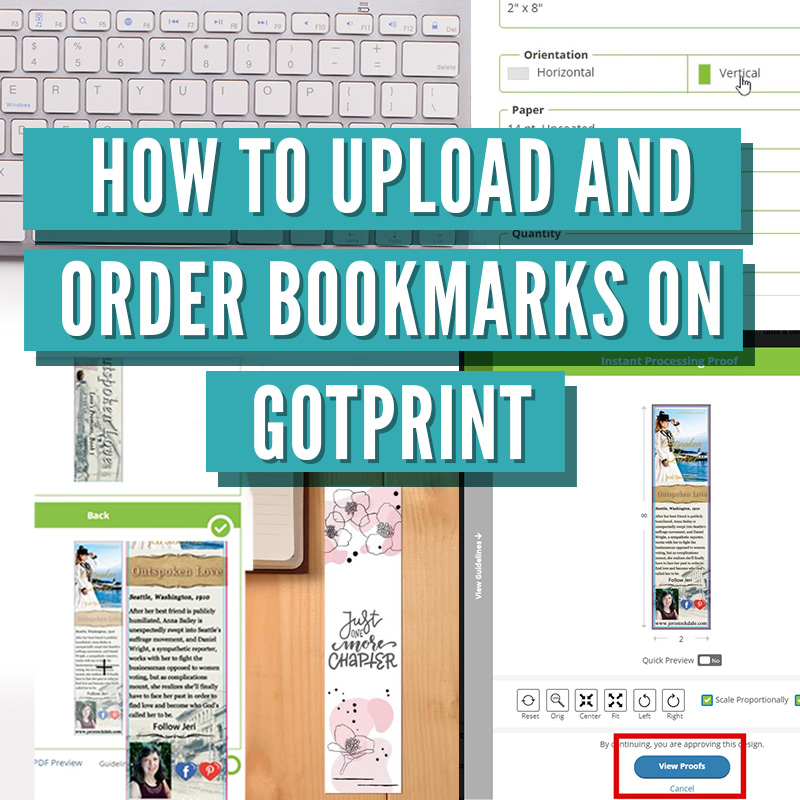
After you select and upload the graphic you have designed for the back of your bookmark the only difference on the Instant Processing Proof page is that instead of Continuing, the blue button at the bottom of the page changes from Continuing to View Proofs. This will take you to a final review page.

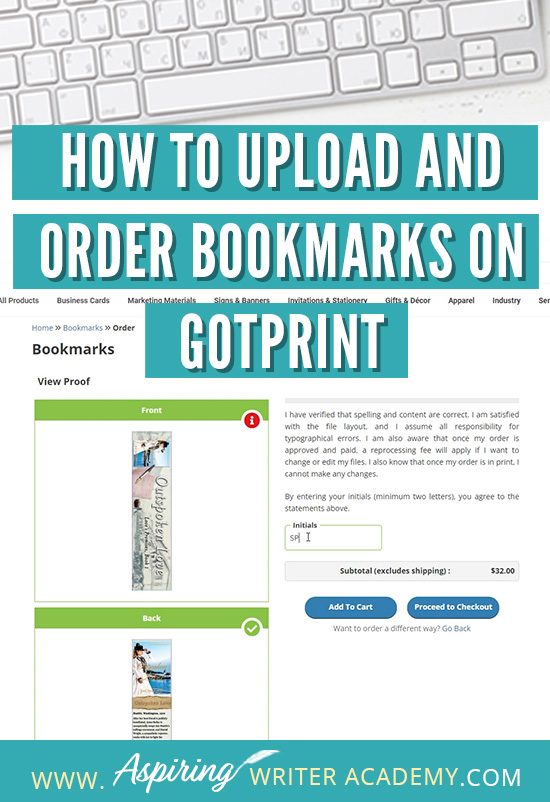
Step 15.
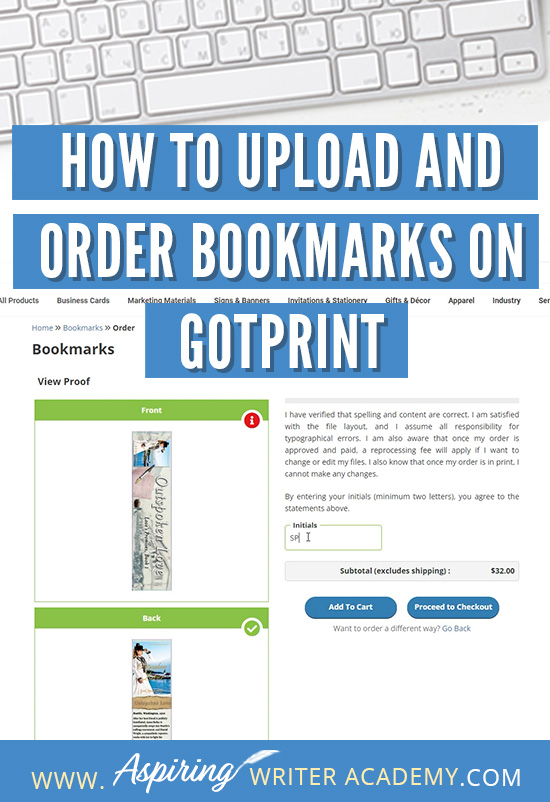
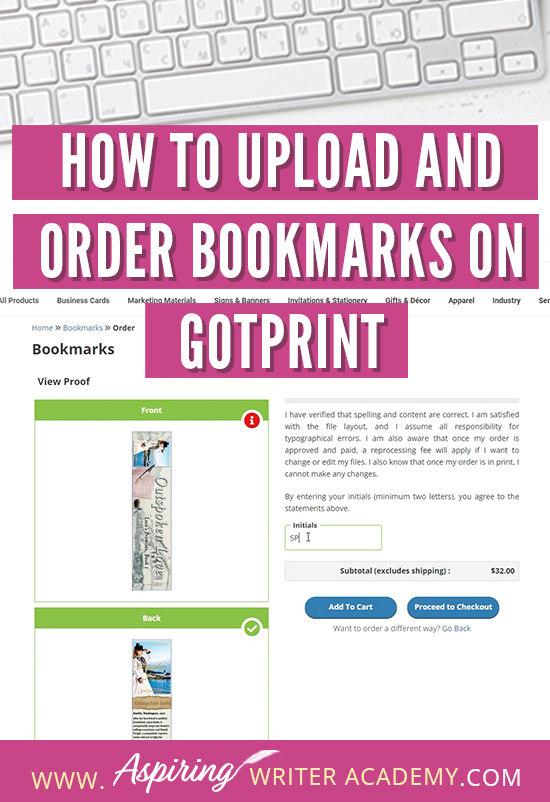
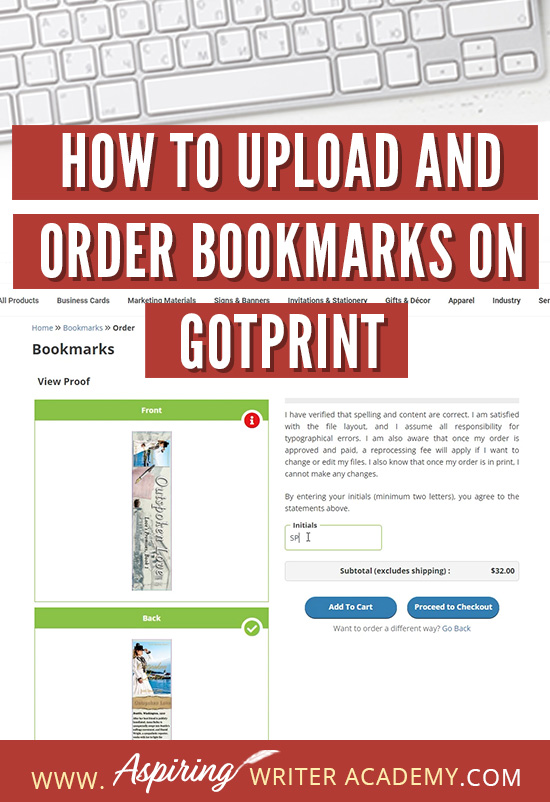
On this final review page, you can download print PDF previews or just hover your mouse over the front and back of your bookmark. It is critical to make sure that all the text is safely within the bookmark and not going past the blue safe zone line. You want to make sure that the background bleed of your image goes all the way to the edges of the bookmark and that no important parts of the image go beyond the pink trim line. Once you have verified that everything looks good to upload just enter your initials in the initial box. After that, you just click proceed to check out and from there you enter all your payment information.

I hope that this step-by-step tutorial How to Upload and Order Bookmarks on GotPrint helps you quickly and confidently order bookmarks for your next book signing, book launch, or writers' conference. If you are looking on how to format your bookmarks for GotPrint be sure to check out our other blog post.
Do you find it difficult to create compelling antagonists and villains for your stories? Do your villains feel cartoonish and unbelievable? Do they lack motivation or a specific game plan? Discover the secrets to crafting villains that will stick with your readers long after they finish your story, with our How to Create Antagonists & Villains Workbook.
This 32-page instructional workbook is packed with valuable fill-in-the-blank templates and practical advice to help you create memorable and effective antagonists and villains. Whether you're a seasoned writer or just starting out, this workbook will take your writing to the next level.

If you have any questions or would like to leave a comment below, we would love to hear from you!
Our Goal for Aspiring Writer Academy is to help people learn how to write quality fiction, teach them to publish and promote their work, and to give them the necessary tools to pursue a writing career.

ENTER YOUR EMAIL
TO GET YOUR FREE
"First Steps Guide for Aspiring Writers" a 30-page comprehensive resource to get you started on your writing journey.
Other Blog Posts You May Like
Learn to Plot Fiction Writing Series: Story Analysis of “Beauty and the Beast”
How to Plot Your Fictional Novel (with Free Template Included)
The Ultimate Book Signing Checklist: What to Bring to Your First Book Signing
5 Questions to Create Believable Villains
Why Your Characters Need Story-Worthy Goals
3 Levels of Goal Setting for Fiction Writers
Fiction Writing: How to Write a Back Cover Blurb that Sells
Fiction Writing: How to Name Your Cast of Characters
How to Captivate Your Readers with Scene-Ending Hooks
Scene & Sequel: The Secret to Plotting an Epic Novel
Scene & Sequel: The Secret to Plotting an Epic Novel (Part 2)
Writing Fiction: How to Develop Your Story Premise
12 Quick Tips to Write Dazzling Dialogue
10 Questions to Ask When Creating Characters for Your Story
Macro Edits: Looking at Your Story as a Whole
Basic Story Structure: How to Plot in 6 Steps


")

")

")
")


Samantha Panzera is an adventurous travel blogger, graphic designer, and multi-media business entrepreneur who uses the experience she’s gained over the years to teach aspiring writers the skills they need to build an author platform and take their careers to the next level.