
How to Add Extra Chapters to the Amazon KDP Paperback Book Template


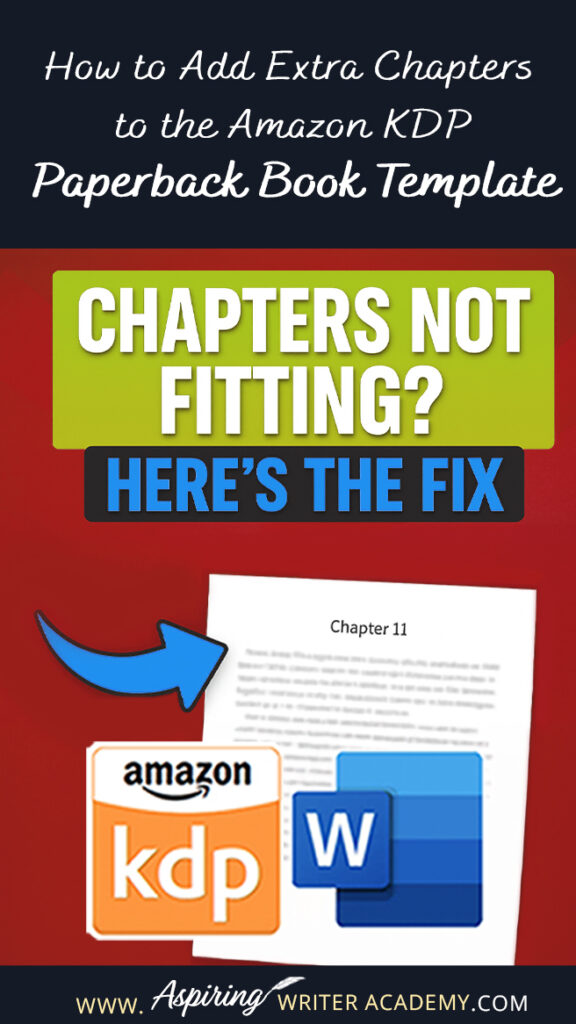
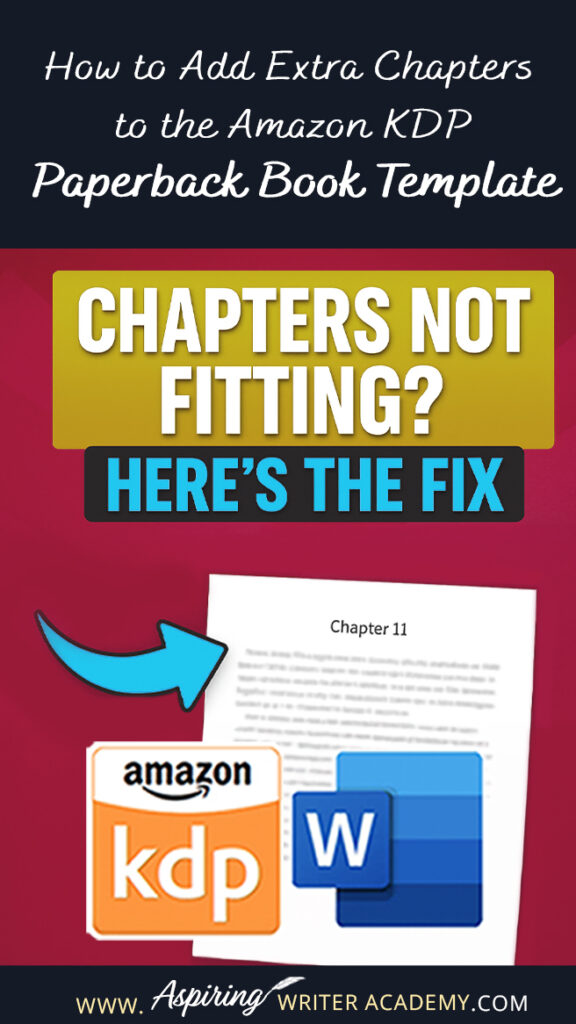
If you’ve ever tried formatting your paperback for Amazon KDP using one of their Microsoft Word templates, you’ve probably run into that moment—the one where you add a new chapter and suddenly your headers go weird, your page numbers vanish, or your whole layout looks weird.
Trust me, you’re not alone.
I’ve had so many writers reach out over the years asking why adding “just one more chapter” turns into an unexpected formatting adventure. So today, I’m walking you through the easiest, cleanest way to add extra chapters to the Amazon KDP Word template for paperback books —without breaking your headers, page numbers, or section formatting.
Below, you’ll see the full video tutorial showing you exactly how to do it step-by-step. If you prefer reading or want the instructions for later, I’ve also written everything out for you here.

Why the KDP Template Gets Messy
Amazon’s paperback templates are super useful, but they’re also very structured. Each chapter is formatted using:
-
Section breaks (not just regular page breaks)
-
Preset header styles
-
Mirrored headers for left and right pages
-
Built-in page numbering rules
So when you copy/paste something or try to insert a chapter the “normal” way, Word doesn’t automatically carry the formatting forward. That’s why things can look off.
Fortunately… it’s an easy fix once you know the correct workflow.
Step-by-Step: How to Add More Chapters to the KDP Template
Here’s the simple method I use (and the one I walk you through in the video):
1. Scroll to the Final Chapter in the Template
Most KDP templates come with ten chapters by default. Scroll to the end until you reach Chapter 10, then continue down to the page right above About the Author.
You want to create new space here.
2. Turn On the ¶ (Pilcrow) Button to Reveal Hidden Formatting
Before adding new chapters, it really helps to turn on the ¶ (Pilcrow) button in Microsoft Word. This lets you see all the “hidden” formatting inside the KDP template — the stuff that controls where chapters start, how headers behave, and why page numbers sometimes jump or disappear.
How to Turn It On
-
Go to the Home tab in Word
-
Look for the ¶ icon in the Paragraph section
-
Click it once — you’ll immediately see formatting symbols appear on the page
Why This Matters
With ¶ turned on, you’ll be able to see:
-
Section Breaks (Next Page) — required for clean chapter formatting
-
Page Breaks — fine for some elements, but not for starting chapters
-
Extra paragraph marks you didn’t realize were there
-
Spacing and alignment markers that affect layout
This step makes troubleshooting so much easier. If your chapters “aren’t fitting,” or if headers/page numbers suddenly get weird, the Pilcrow view usually reveals exactly what’s causing the problem.
Keep ¶ turned on while you add or copy chapters so you can clearly see how the template is structured behind the scenes.

3. Insert a Blank Page for Your New Chapter
Now that you can see all the hidden formatting marks, it’s time to create space for your new chapter. You’ll do this by inserting a Blank Page — not typing Enter a bunch of times and not copying/pasting directly into the middle of the template.
Where to Click
Scroll down to the final chapter in the template (usually Chapter 10).
Right above the “About the Author” page, click your cursor at the very beginning of that line.
Make sure:
-
You’re not highlighting anything,
-
You’re not inside a text box, and
-
You can clearly see the section break or page break (thanks to having ¶ turned on).
Insert the Blank Page
Go to:
Insert → Blank Page
Word will automatically create a brand-new empty page between the last chapter and the “About the Author” section.
Why This Step Matters
Inserting a blank page — instead of copying and pasting randomly — ensures:
-
You aren’t breaking existing section breaks
-
You create clean space for a new, fully formatted chapter
-
You don’t accidentally shift the “About the Author” content out of place
-
Your headers, footers, and page numbers stay consistent
This blank page is where you’ll paste the template chapter you’re duplicating (like Chapter 10) so you can turn it into Chapter 11, Chapter 12, and so on.

4. Copy the Entire Previous Chapter (Without Breaking the Template)
To keep your formatting clean and consistent, you’ll want to copy two things:
-
The previous chapter layout from the template (so your styling stays correct), and
-
The actual text of your chapter from your manuscript.
This method prevents headers, spacing, fonts, and page numbers from getting messed up.
Step A: Copy the Chapter Layout From the Template
Scroll to the final chapter the template includes (for example, Chapter 10).
Highlight the entire chapter, including:
-
The chapter heading (e.g., Chapter 10)
-
The chapter title, if the template uses one
-
All paragraph text
-
All spacing and paragraph breaks
-
Everything up to the section break at the end of the chapter (you’ll see this with ¶ turned on)
Tip: Make sure the section break stays at the end of the copied chapter — that’s what keeps headers, footers, and page numbering working correctly.
Now copy it:
Ctrl + C (Windows) or Cmd + C (Mac)
Step B: Paste the Template Chapter Onto Your Blank Page
Go to the blank page you added in Step 3.
Click at the very top of that page — then paste:
Ctrl + V (Windows) / Cmd + V (Mac)
Now you should have a duplicate chapter (Chapter 10) sitting on the blank page. This is your starting point for Chapter 11, 12, and beyond.
Step C: Bring In Your Actual Manuscript Text
Let’s replace the filler text with your real chapter from your manuscript.
-
Open your original manuscript file.
-
Highlight your entire next chapter — but do NOT copy chapter titles or headings from your manuscript.
-
Only copy the body text, because the template already handles the heading styles.
-
-
Copy your chapter text:
Ctrl + C or Cmd + C
Step D: Paste Your Manuscript Text Into the Template Safely
This is where many writers accidentally break the formatting — so here’s the safe way:
-
In the duplicated chapter you just created, highlight only the placeholder body text, not the chapter heading or title.
-
Paste your manuscript text using “Paste Without Formatting.”
To do this:
-
Right-click → Keep Text Only
-
Or use the shortcut:
Ctrl + Shift + V (Windows) or Cmd + Shift + V (Mac)
This ensures your text adopts the KDP template’s styles instead of bringing over your manuscript’s fonts, spacing, or hidden formatting.
Now Your New Chapter Is Clean and Ready
You should now have:
-
A duplicated template chapter
-
Your manuscript’s chapter text inserted cleanly
-
All formatting (headers, footers, margins, fonts, spacing) preserved
-
A proper Section Break (Next Page) at the end of the chapter
Your new “Chapter 11” is ready to rename and use!
5. Rename Your Chapter & Convert the Page Break Into a Section Break
Now that your new chapter is added and the manuscript text is in place, it’s time to make sure the structure behind it is correct. This is where most formatting issues happen — so don’t skip this part!
A. Rename Your Chapter Heading
At the top of your duplicated template chapter:
-
Change Chapter 10 → Chapter 11
-
Update the chapter title if your book uses them
-
Keep the heading style intact (usually “Heading 1” or a custom template style)
If the font or spacing suddenly changes, simply reapply the correct heading style from:
Home → Styles

B. Convert the Page Break Into a Section Break (Very Important!)
This is the step that prevents headers and page numbers from going wonky.
Scroll to the end of your newly added chapter. You’ll probably see a Page Break sitting there (you’ll see this thanks to having ¶ turned on).
You need to turn that into a Section Break (Next Page) so Word recognizes the start of a brand-new chapter.
Here’s how:
Go to:
Layout → Breaks → Next Page
Now the page break becomes a Section Break, which does several important things:
-
Keeps your page numbers flowing correctly
-
Allows chapter-opening pages to have different headers
-
Makes your book title/author name mirror properly on left vs. right pages
-
Ensures each chapter behaves as its own “section” in the manuscript
Section breaks are essential. They’re the backbone of clean KDP formatting.
C. Check Your Headers
Double-click inside the header area.
You’ll see whether the new section is:
-
Linked to Previous
-
Using the correct alternating left/right header structure
-
Showing (or removing) headers as intended
Typical KDP template rules:
-
Chapter-opening pages usually have NO header
-
Right-hand pages show one header style
-
Left-hand pages show the mirror/alternate style
If something looks wrong, the section break is usually the fix — and now yours is correct.
D. Check Your Page Numbers
Still in the header/footer view:
-
Make sure the page numbers continue in order
-
Ensure they didn’t restart at “1”
-
Confirm odd numbers show on right-hand pages (standard layout)
If page numbers reset or disappear, toggle:
Header & Footer Tools → Link to Previous
on or off until they correct themselves.
Your New Chapter Is Now Properly Integrated
You’ve now:
-
Renamed the chapter
-
Converted the page break into a proper section break
-
Ensured headers behave correctly
-
Confirmed page numbering continues smoothly
Your new chapter is officially part of the template — clean, consistent, and KDP-ready.
6. Repeat for All Remaining Chapters
Need Chapter 12?
Chapter 13?
Chapter 47?
Just repeat the same process:
-
Insert a blank page
-
Copy/paste a full chapter
-
Add a section break
-
Update the chapter title
Do this until your template includes as many chapters as your book needs.
And That’s It!
Adding chapters to the KDP template doesn’t have to be frustrating. Once you understand how Word handles section breaks, everything becomes so much smoother.
You can watch the full demonstration in the embedded video above—sometimes seeing it done visually makes the steps click into place.
If you found this tutorial helpful, feel free to share it with a writing friend who’s knee-deep in formatting. And if you have more KDP or tech questions, drop them in the comments—I’m always happy to help writers make this stuff less overwhelming.
Happy writing! ✨
We Believe All Authors Can Aspire to Take Their Writing to the Next Level!
Our Goal for Aspiring Writer Academy is to help people learn how to write quality fiction, teach them to publish and promote their work, and to give them the necessary tools to pursue a writing career.

Before You Go… Grab This Free Resource!
If you’re in the early stages of writing your novel, don’t forget to download our free Brainstorming Your Story Idea Worksheet. It includes:
-
Fill-in-the-blank prompts
-
Story structure examples
-
Guided questions
-
Idea-boosting templates
Do you find it difficult to create compelling antagonists and villains for your stories? Do your villains feel cartoonish and unbelievable? Do they lack motivation or a specific game plan? Discover the secrets to crafting villains that will stick with your readers long after they finish your story, with our How to Create Antagonists & Villains Workbook.
This 32-page instructional workbook is packed with valuable fill-in-the-blank templates and practical advice to help you create memorable and effective antagonists and villains. Whether you're a seasoned writer or just starting out, this workbook will take your writing to the next level.


Samantha Panzera is an adventurous travel blogger, graphic designer, and multi-media business entrepreneur who uses the experience she’s gained over the years to teach aspiring writers the skills they need to build an author platform and take their careers to the next level.